Create a CML
Add a Corrosion Measurement Location (CML) to an asset in SHIELD to define specific points where wall thickness readings are taken and tracked over time.
Overview
A Corrosion Measurement Location (CML) is a defined point on an asset component where ultrasonic or other thickness measurements are taken during inspections. CMLs are the foundation of corrosion rate tracking and remaining life calculations in SHIELD — each CML accumulates measurement history over time to trend wall loss and predict future integrity.
CMLs must be assigned to a component. Ensure the relevant components have already been created for the asset before adding CMLs. See Create Components if components are not yet in place.
Steps
Navigate to the Asset
Go to the Assets module and open the asset you want to add CMLs to. Confirm you are on the correct asset and that your site and scope filters are set appropriately.
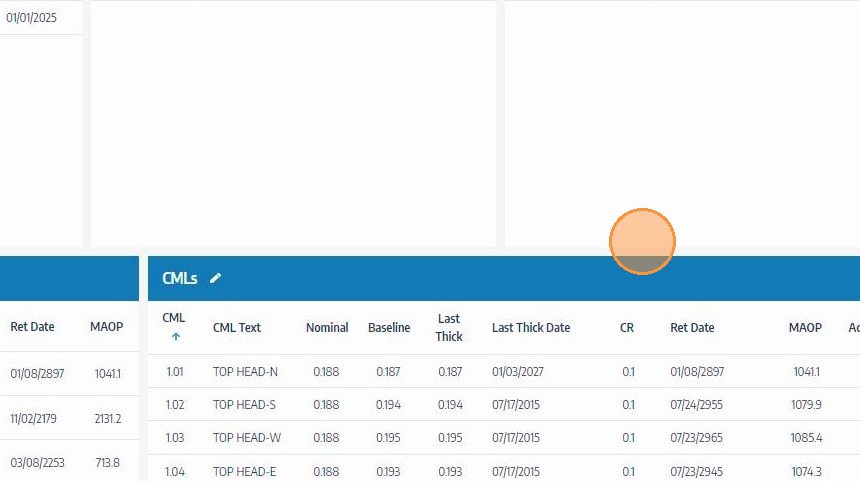
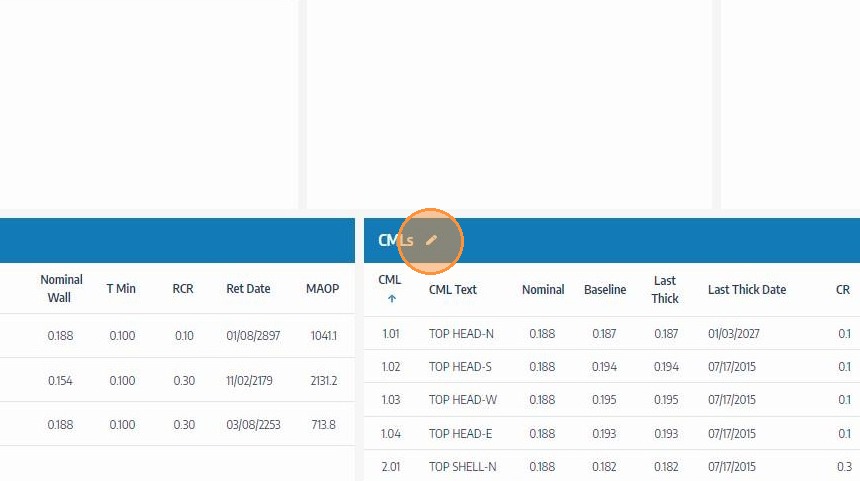
Click the Edit Icon on the CMLs Header
Locate the CMLs section on the asset record and click its edit icon to enter CML editing mode. This unlocks the CML table for new entries and modifications.
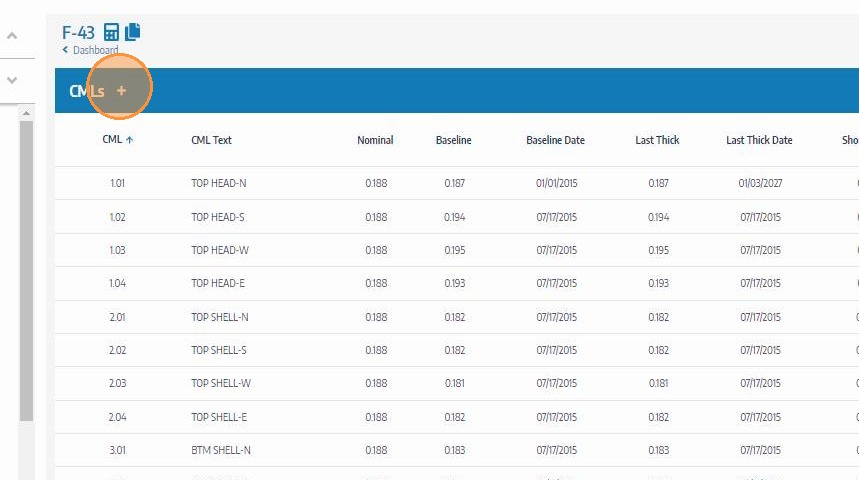
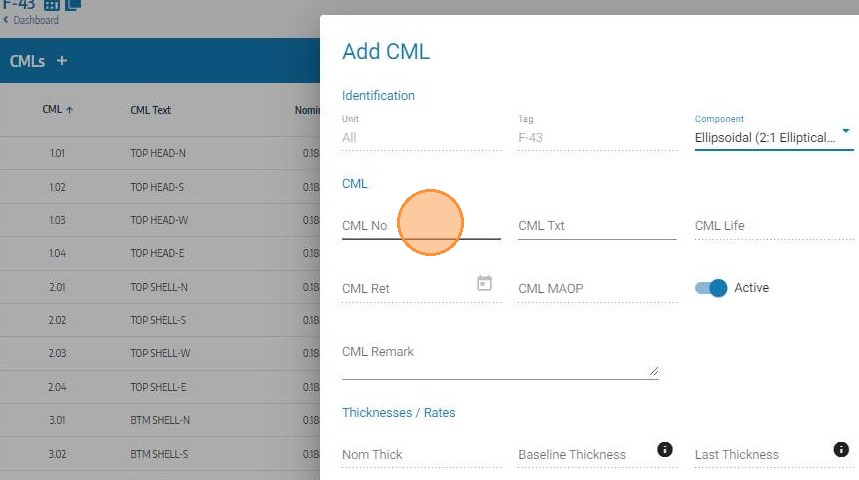
Click the Add Icon on the CMLs Header
Click the Add icon in the CML table header to open a new CML entry row. Each click adds one new CML — repeat for each measurement location you need to define on the asset.
Select the Component the CML Belongs To
Use the component dropdown to assign the CML to the correct component on the asset — for example, Shell Course 1 or Inlet Nozzle N1. The component assignment links the CML's measurement history to that component's corrosion rate and remaining life calculations.
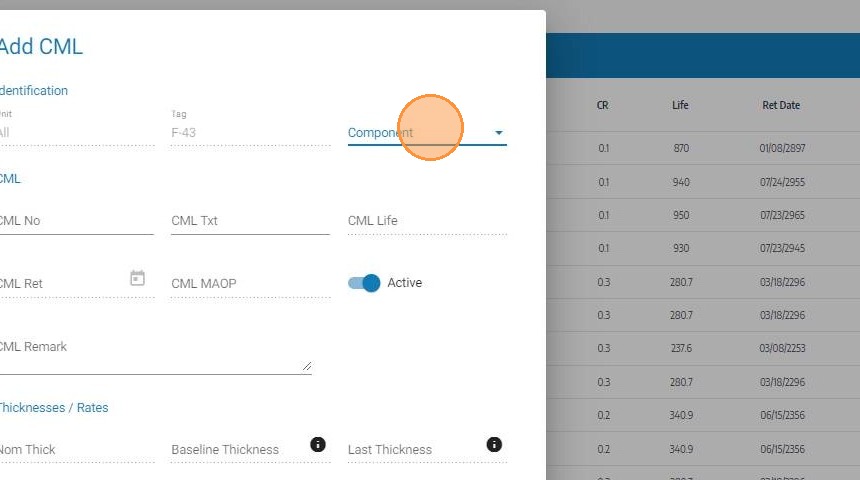
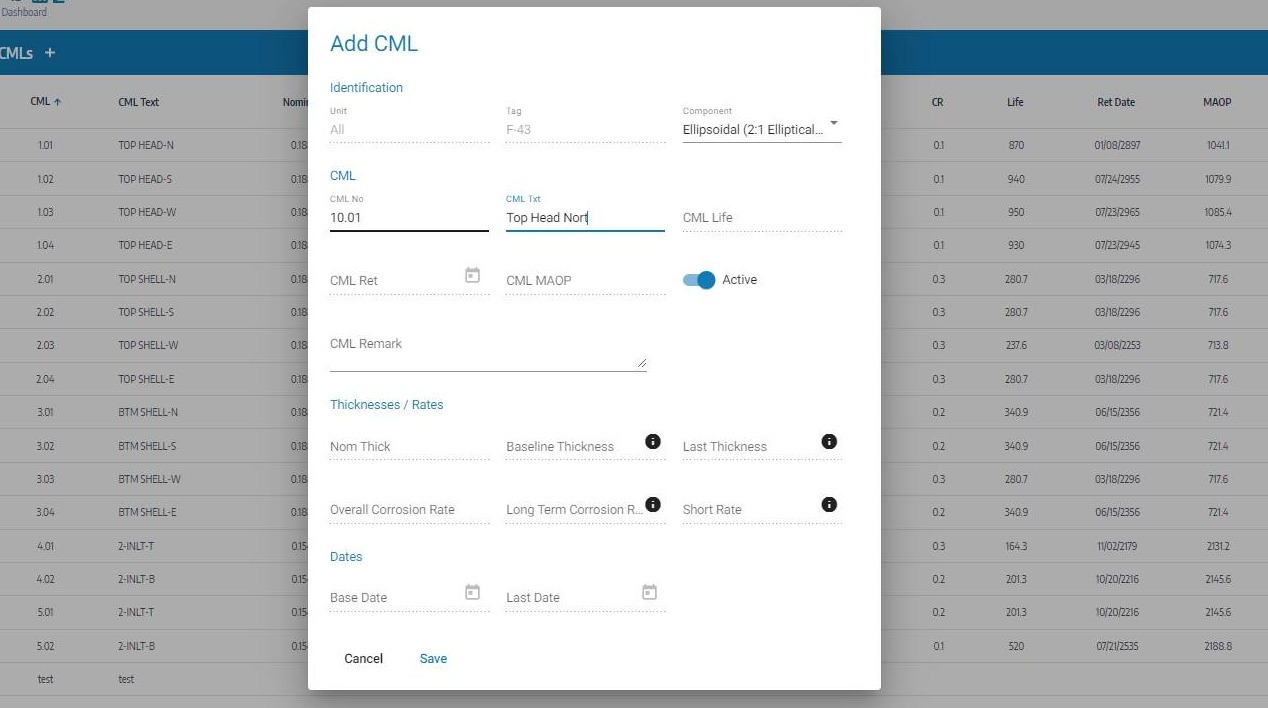
Enter the CML Number or ID
Enter a unique CML number or identifier — for example, CML-001 or P-101-A-01. This ID is used to reference the measurement location on inspection records, reports, and field data sheets. Use a consistent naming convention across your asset inventory for traceability.
Enter the CML Description
Enter a clear description of the measurement location — for example, "6 o'clock position, 12 inches from inlet flange" or "Top of shell, upstream of inlet nozzle". A precise description helps inspectors locate the exact measurement point in the field without ambiguity.
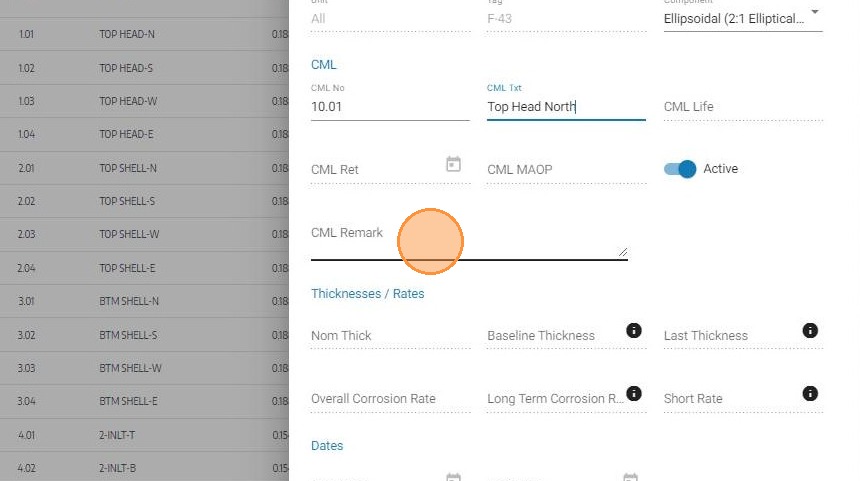
Enter CML Comments or Notes (Optional)
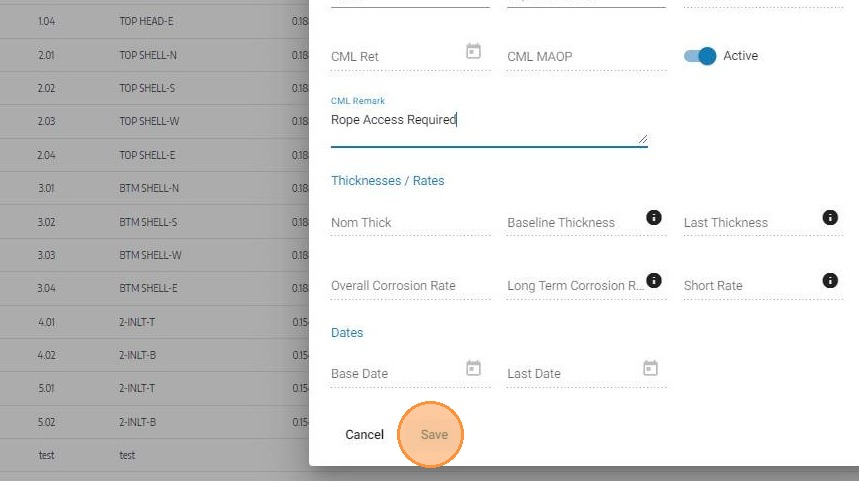
If applicable, add any additional comments or notes relevant to this CML — such as known anomalies, access restrictions, preferred measurement method, or historical context. This field is optional but useful for communicating context to field inspectors.
Click Save
Click Save to create the CML record. The CML will appear in the asset's CML table and become available for thickness measurement entry during inspections.
Field Reference
| Field | Description | Required |
|---|---|---|
| Component | The asset component this CML is assigned to | ✅ Yes |
| CML Number / ID | Unique identifier for the measurement location | ✅ Yes |
| Description | Physical location description for field reference | ✅ Yes |
| Comments / Notes | Additional context, access notes, or measurement method | ⬜ Optional |
Troubleshooting
| Symptom | Cause | Fix |
|---|---|---|
| No components available in the dropdown | Components not yet created for the asset | Create components first using the Create Components guide |
| CML not appearing after save | Page not refreshed | Refresh the asset record to confirm the CML has been added to the table |
| Duplicate CML IDs | Same ID entered more than once | Review the CML list before adding — IDs should be unique per asset for traceability |
| CML not available during inspection task | CML not linked to the correct component or scope | Verify component assignment and confirm the CML is active in the asset record |