Add New Equipment
Add a new equipment record in SHIELD Mechanical Integrity and complete required integrity fields so the asset is ready for circuits, IOWs, and inspections.
Add New Equipment in SHIELD
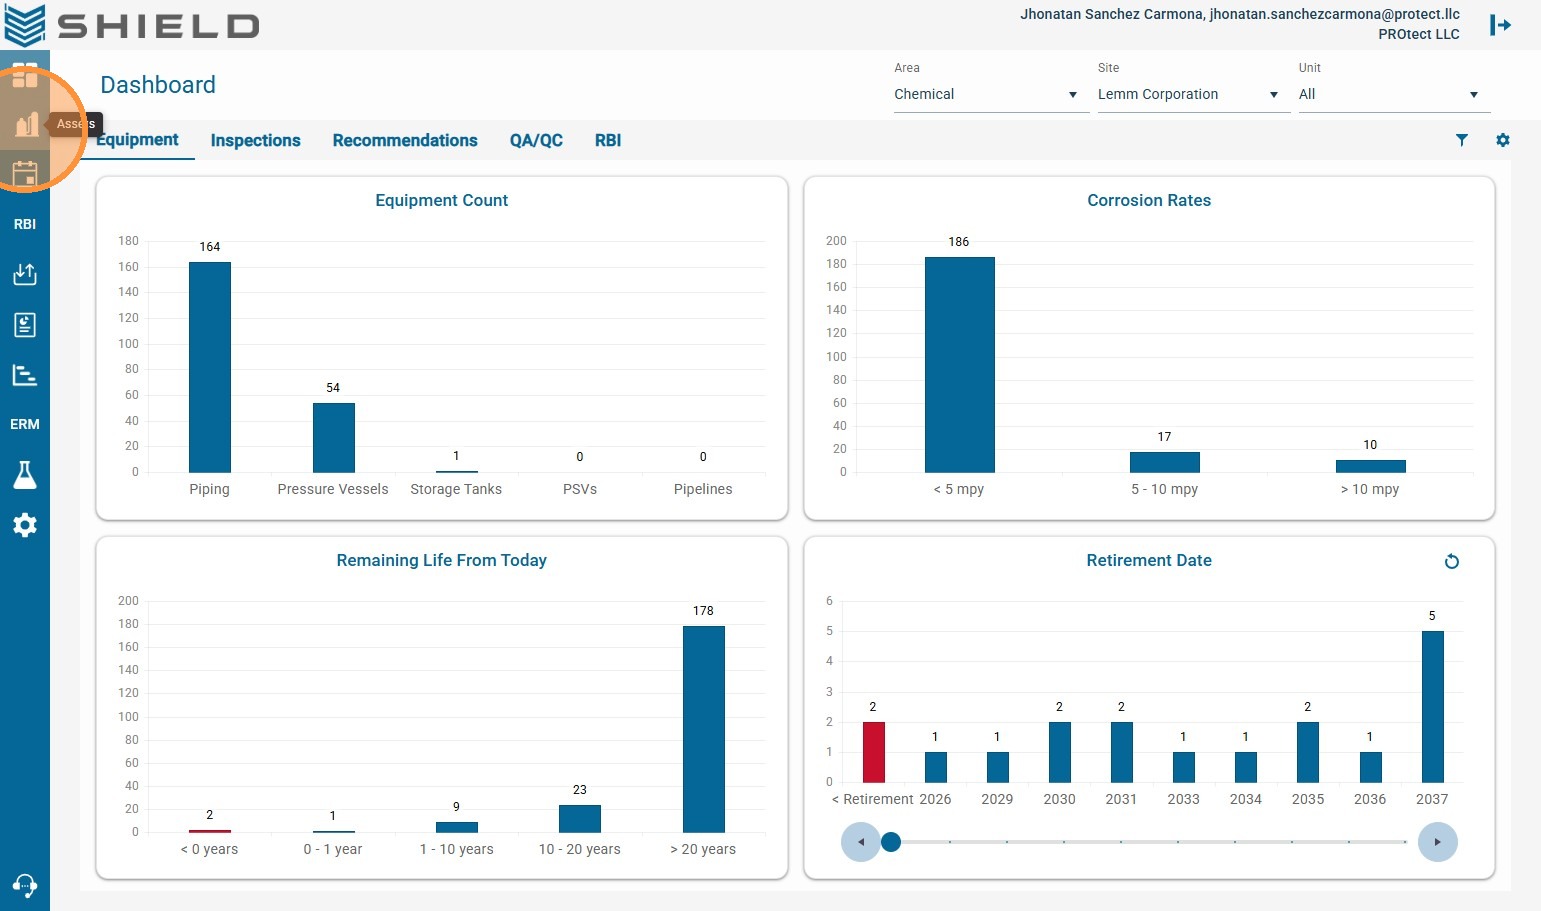
Step 1. Open the Assets module from the left navigation menu.
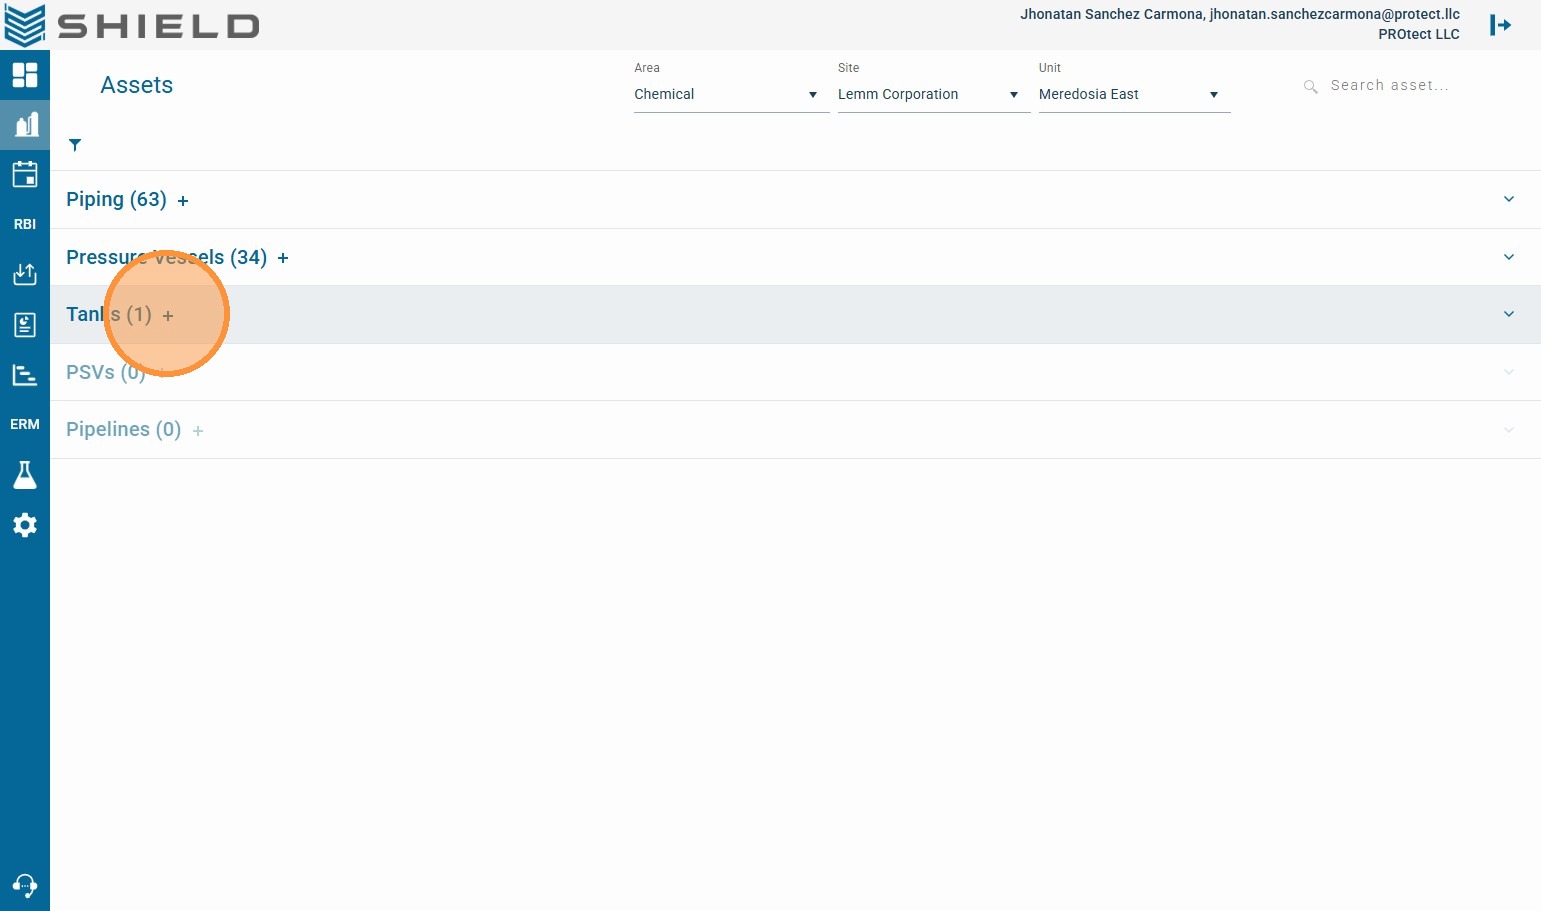
Step 2. Click the + icon next to the equipment type you want to create (example: Tanks).
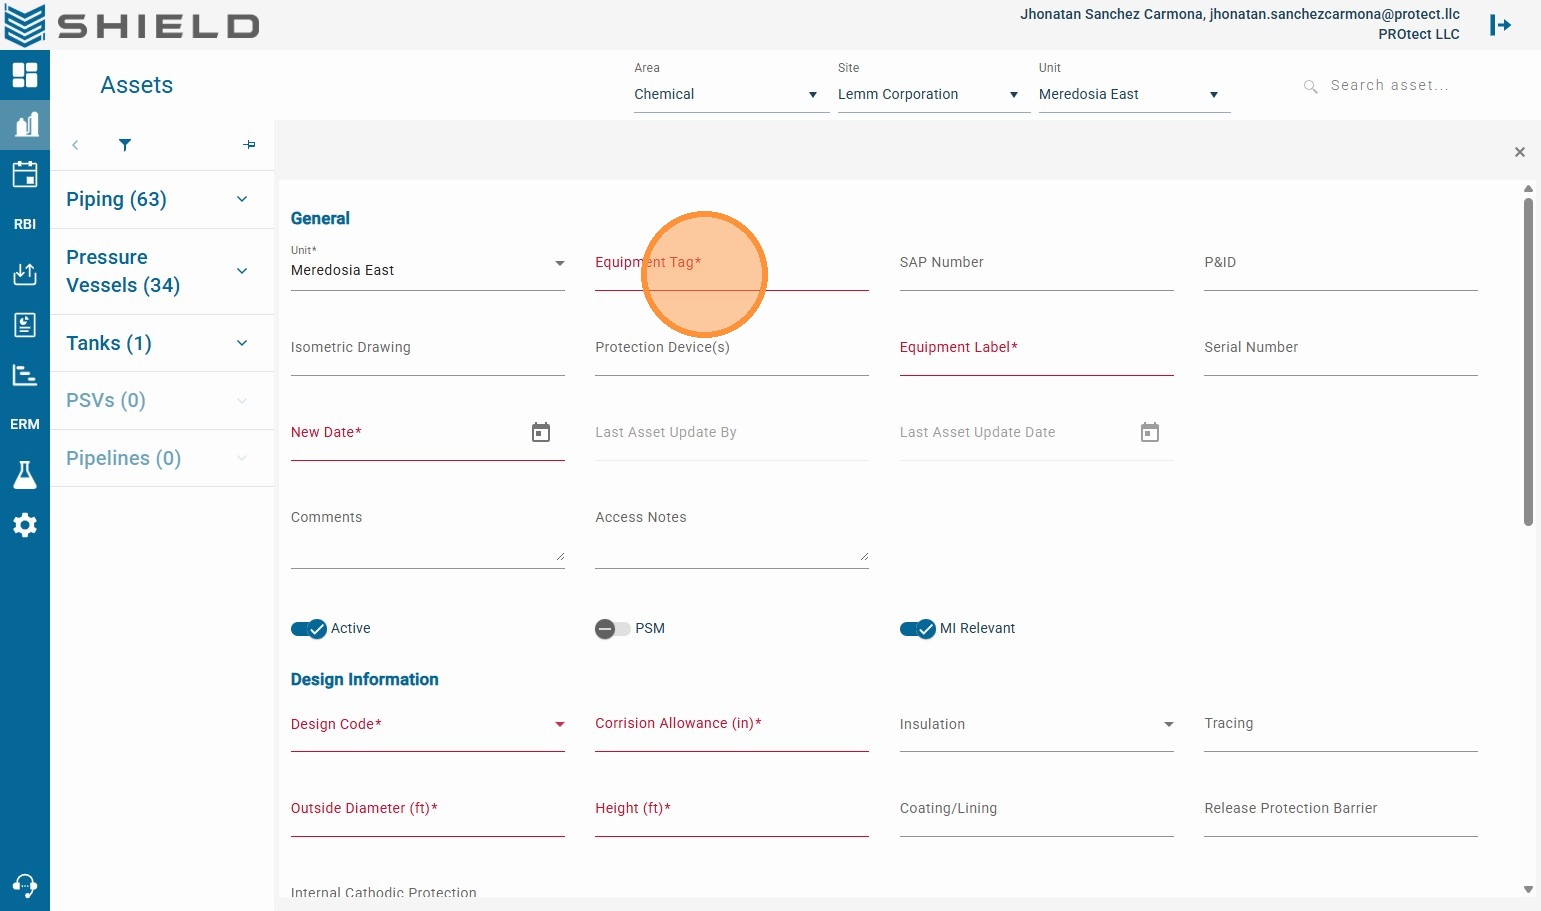
Step 3. Select the correct Unit for this equipment.
This controls where the asset appears in SHIELD Mechanical Integrity filters and dashboards.
Step 4. Click the Equipment Tag field.
Step 5. Enter a unique Tag
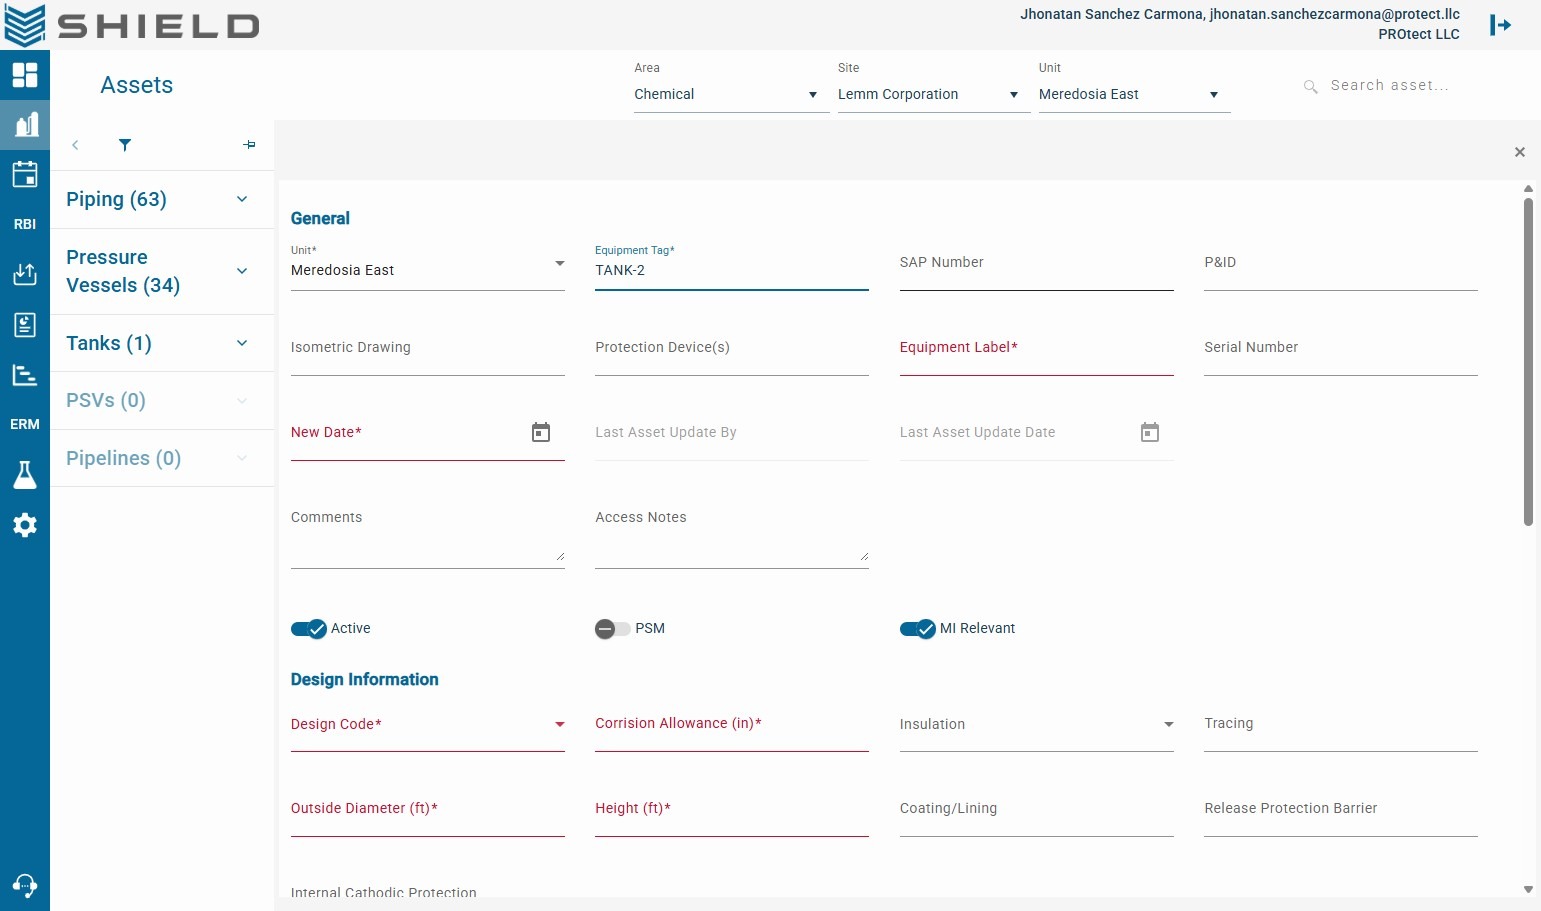
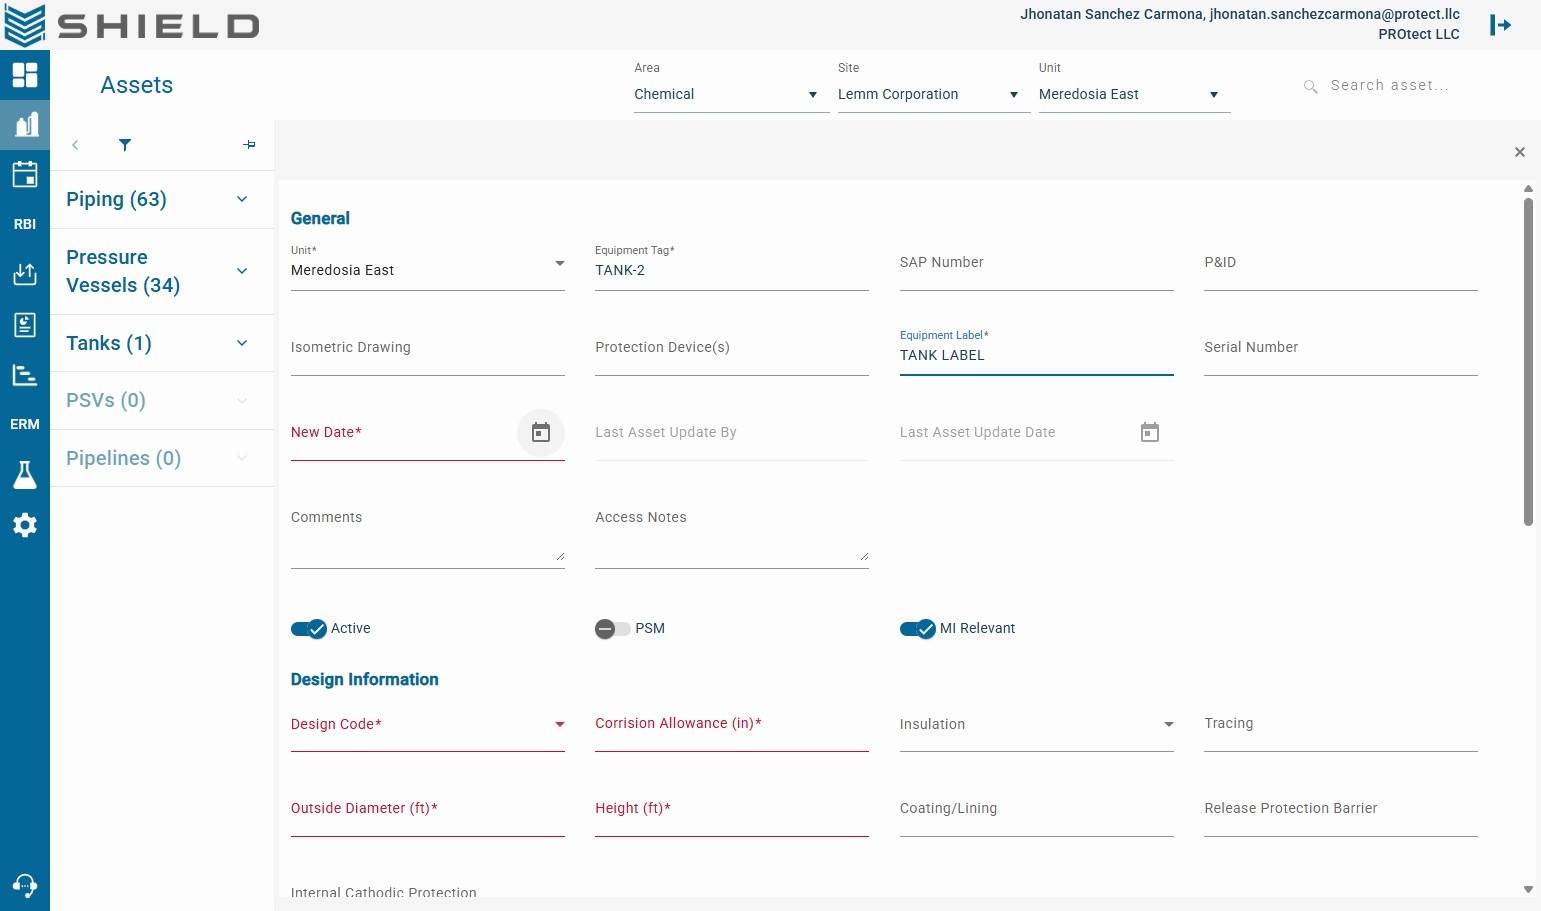
Step 6. Click the Equipment Label field.
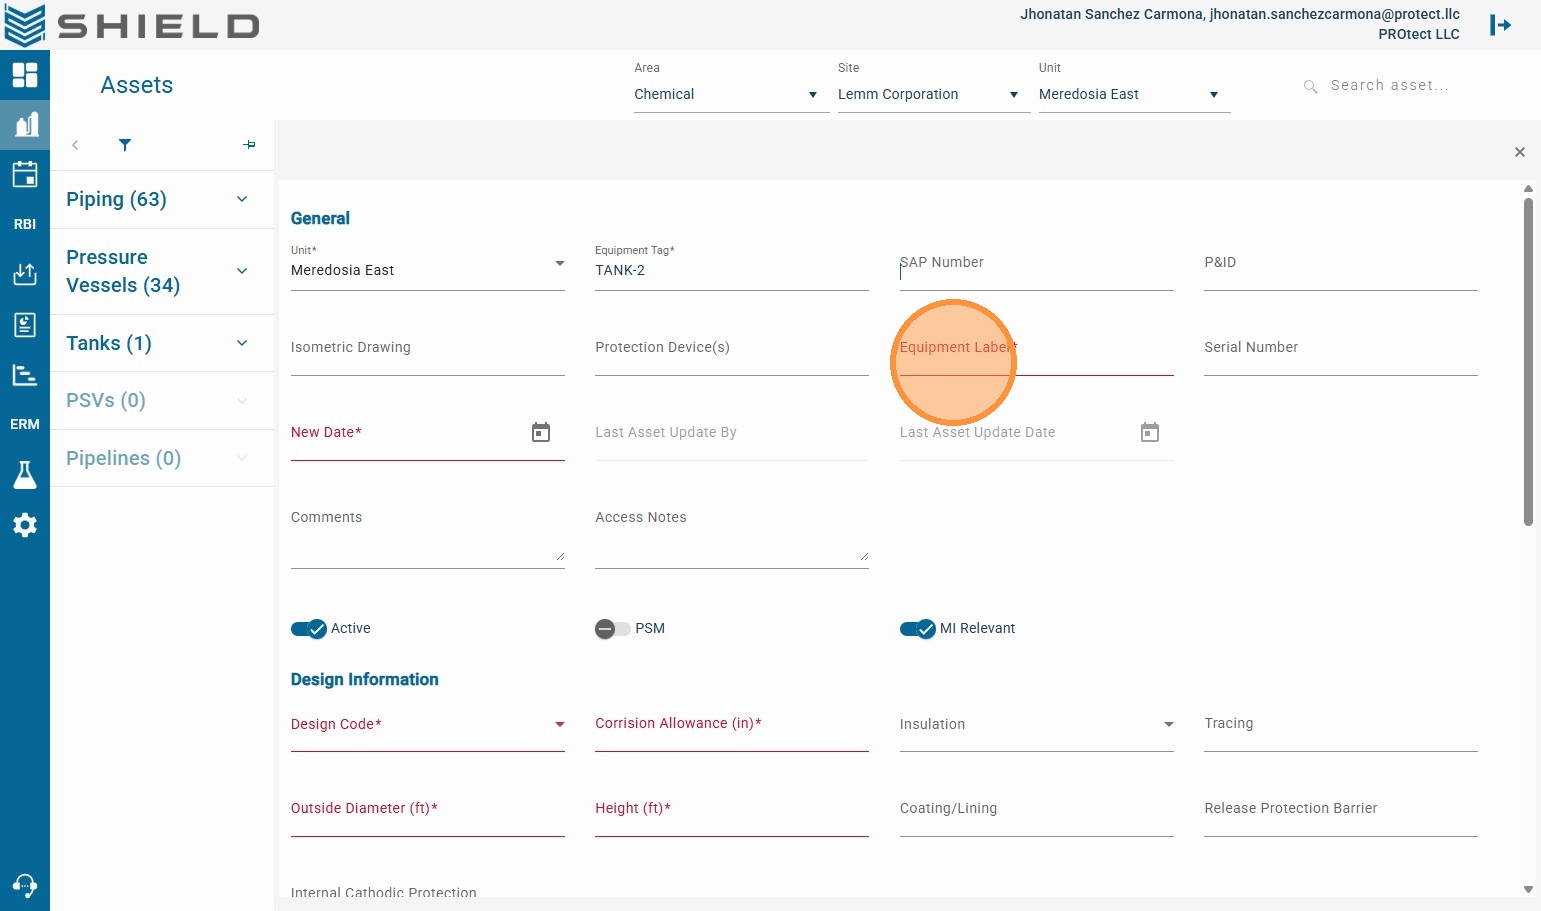
Step 7. Enter the Label (clear equipment description for inspection teams).
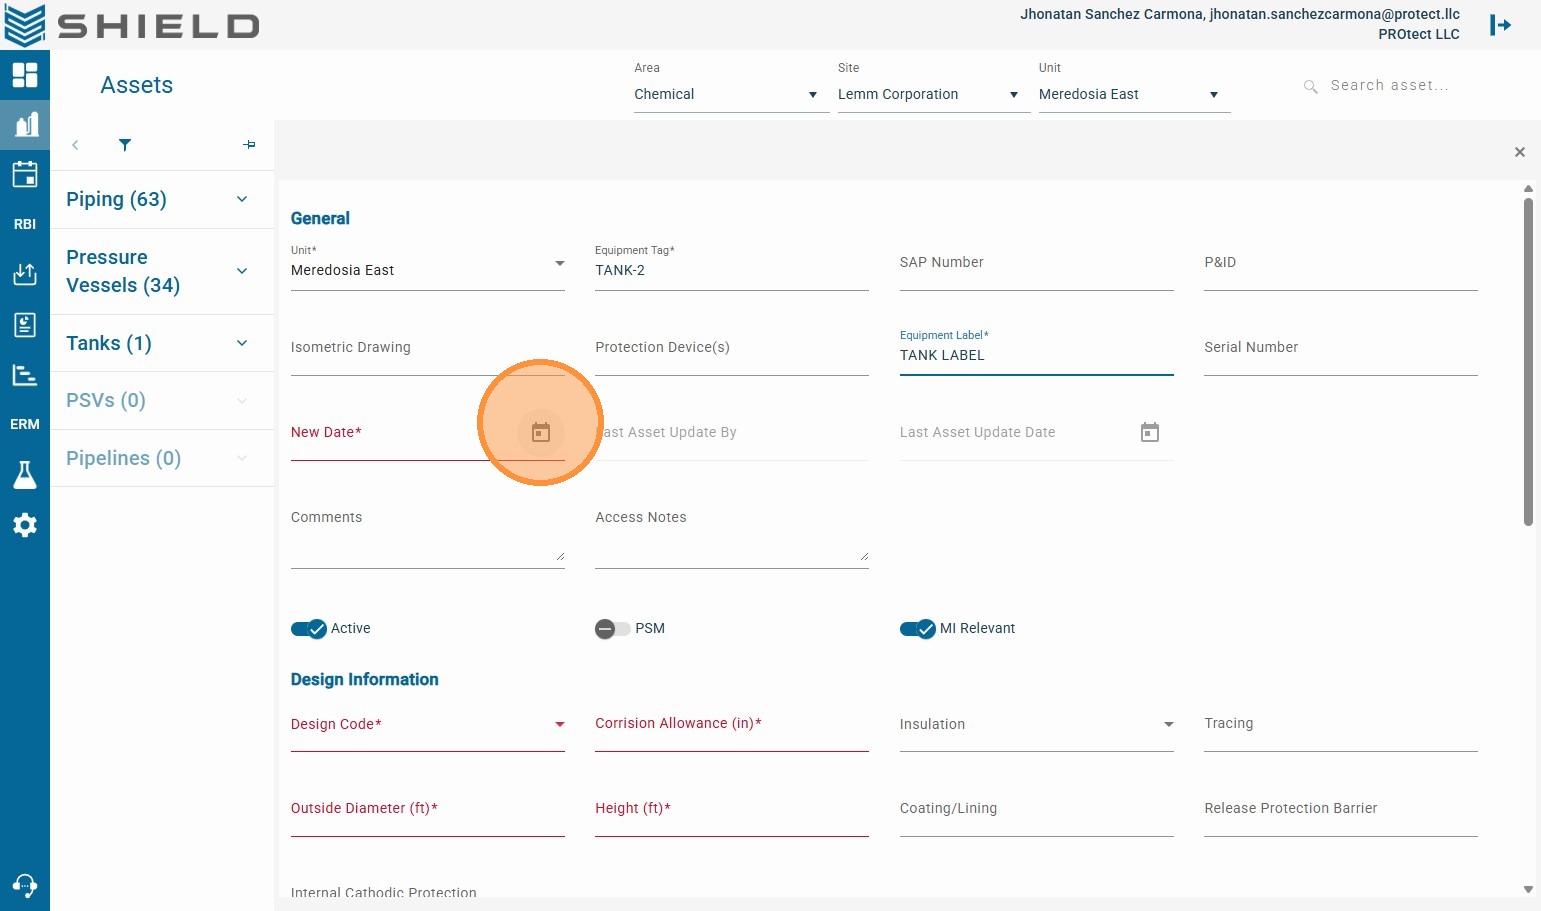
Step 8. Click the New Date field.
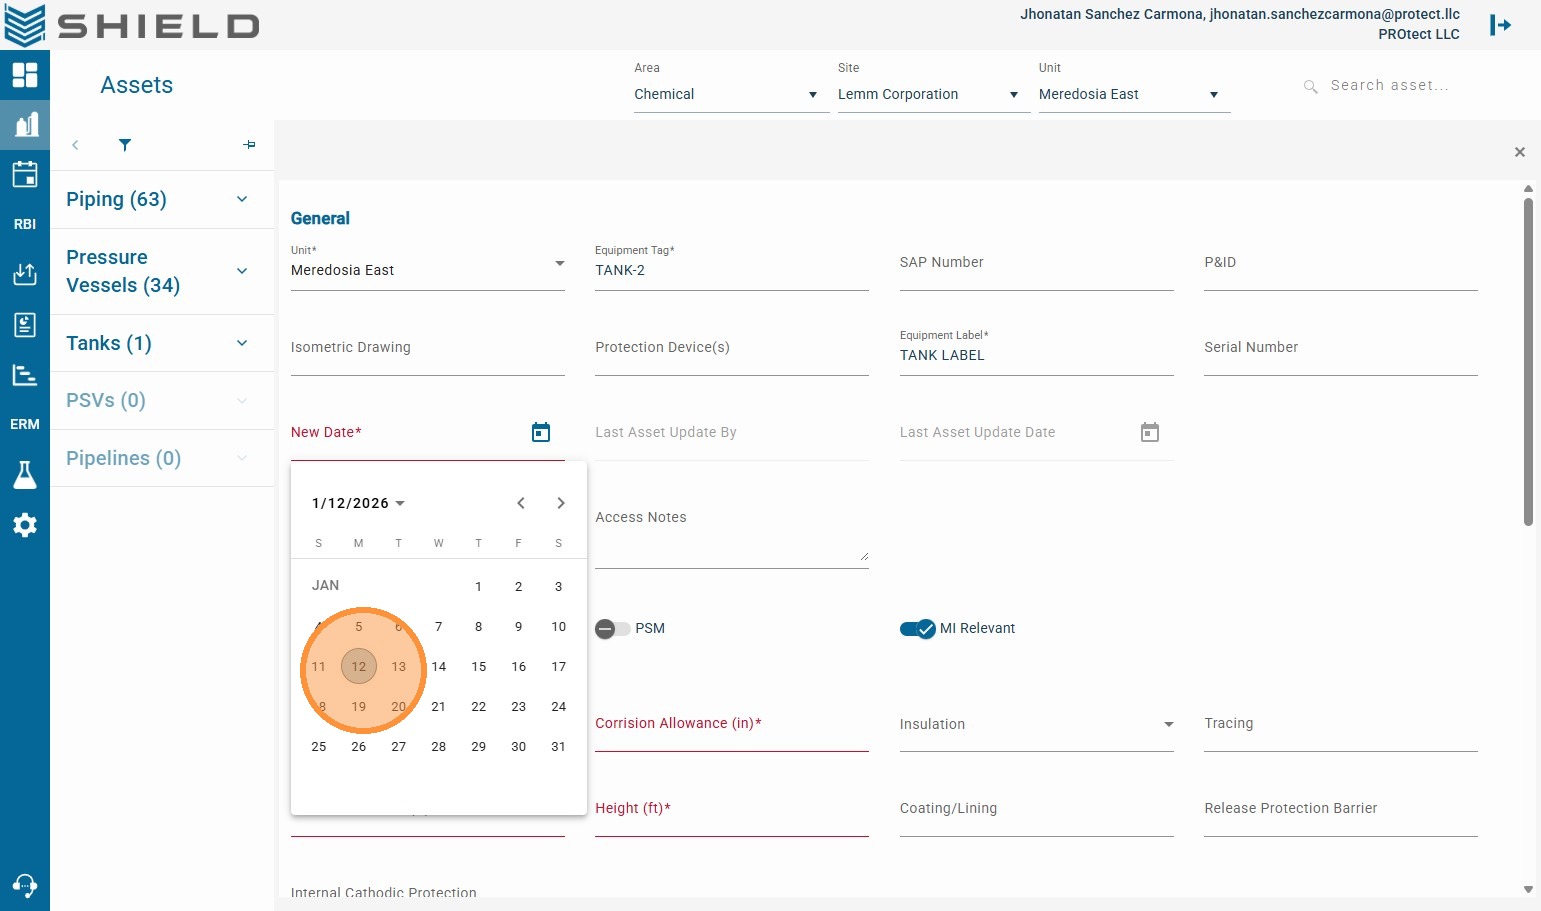
Step 9. Select the date for the New Date field.
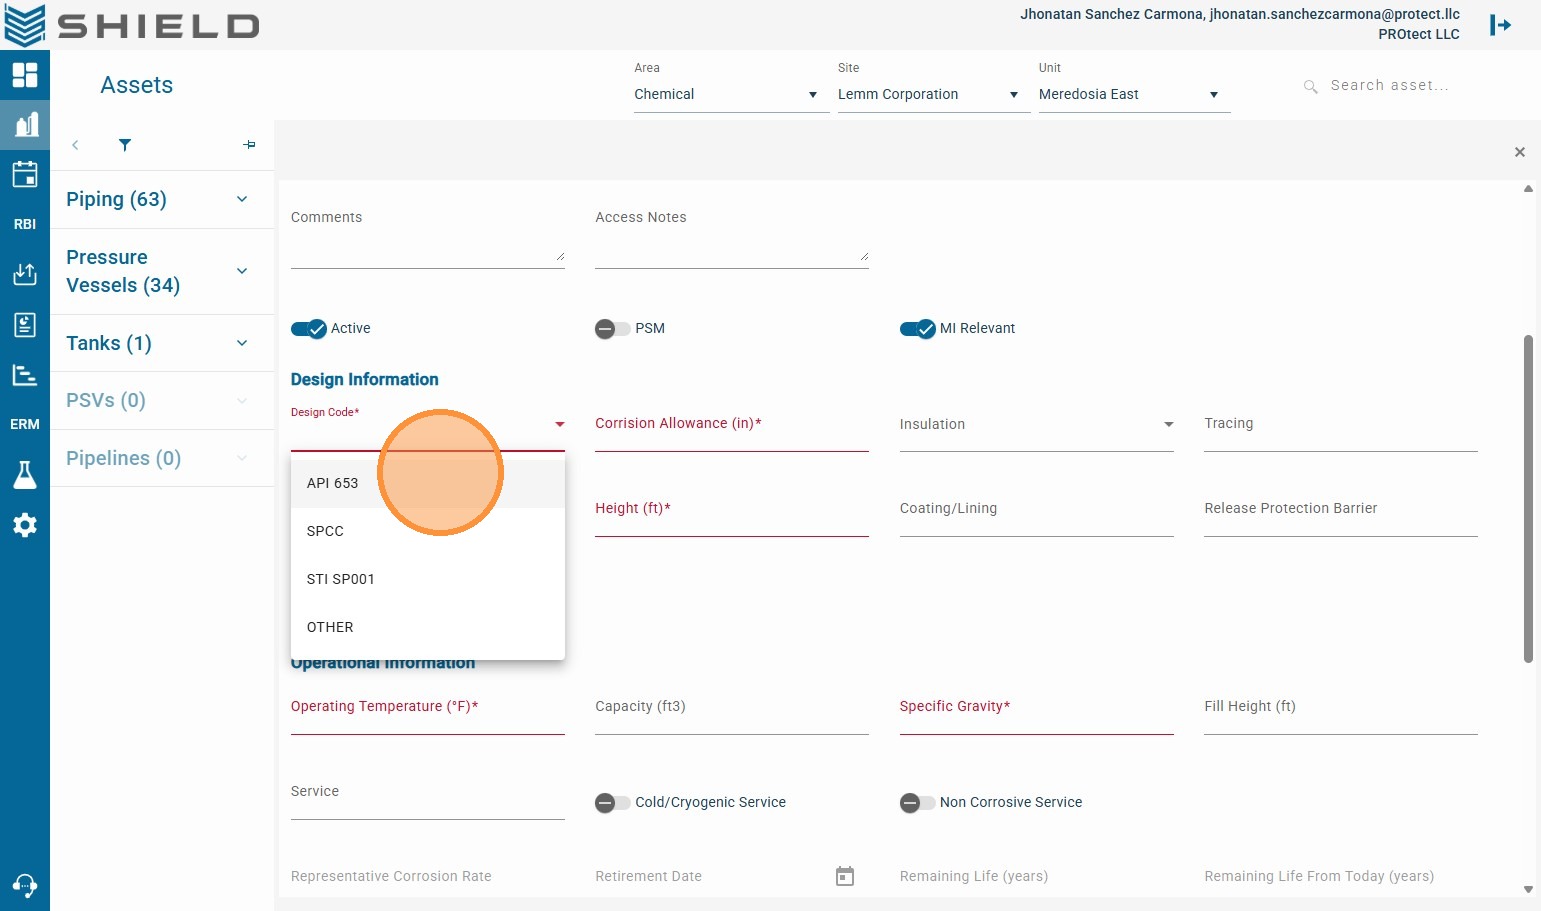
Step 10. Click the Design Code field.
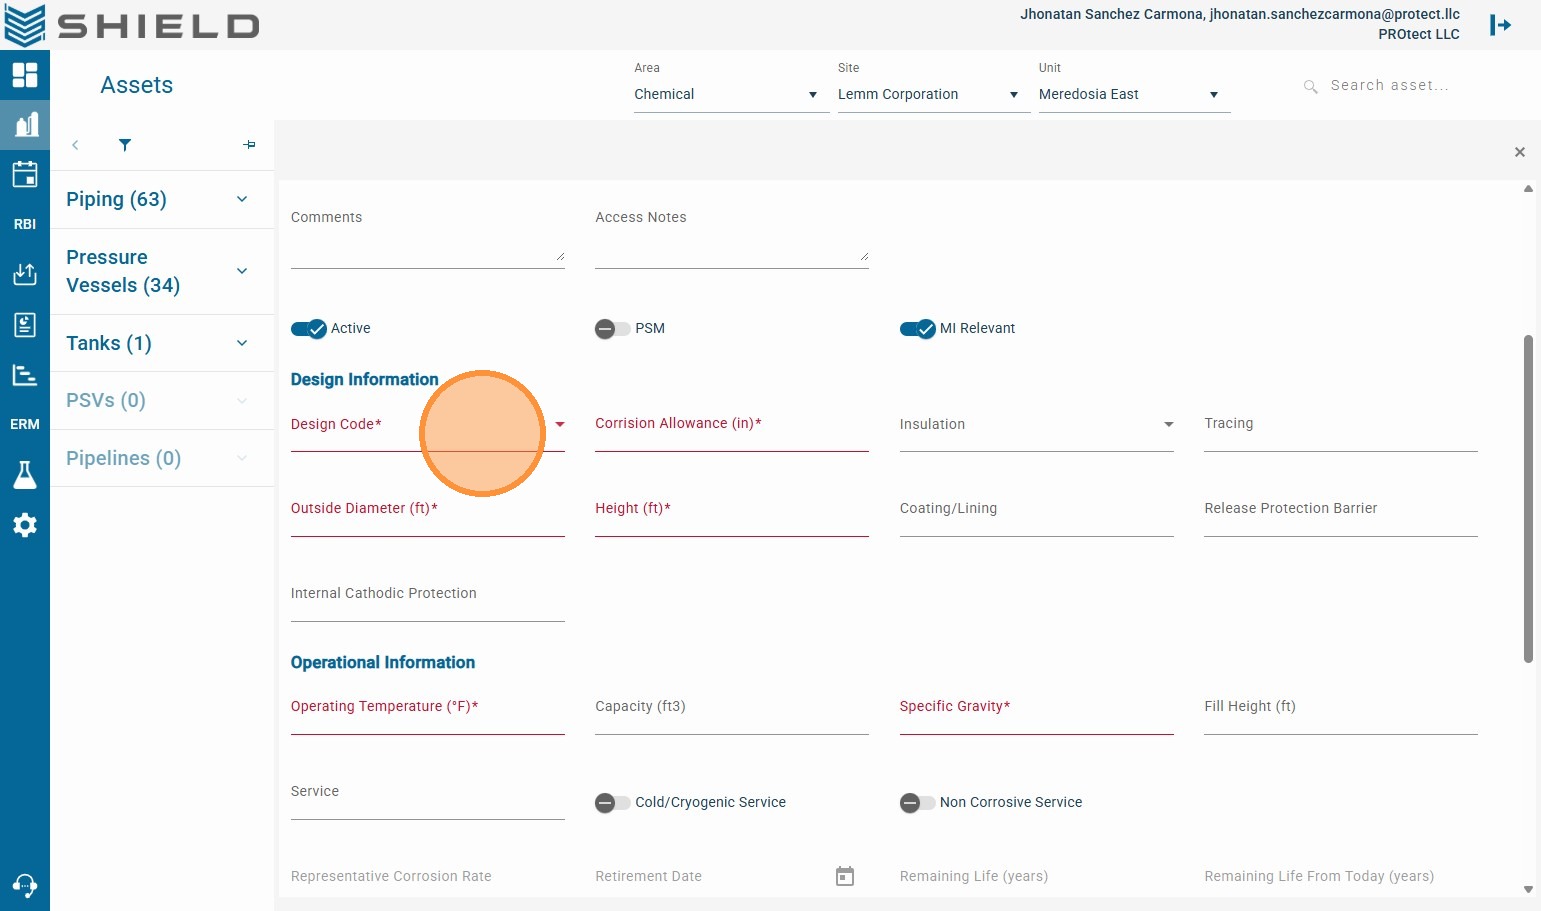
Step 11. Select the applicable Design Code.
Step 12. Click Corrosion Allowance (in).
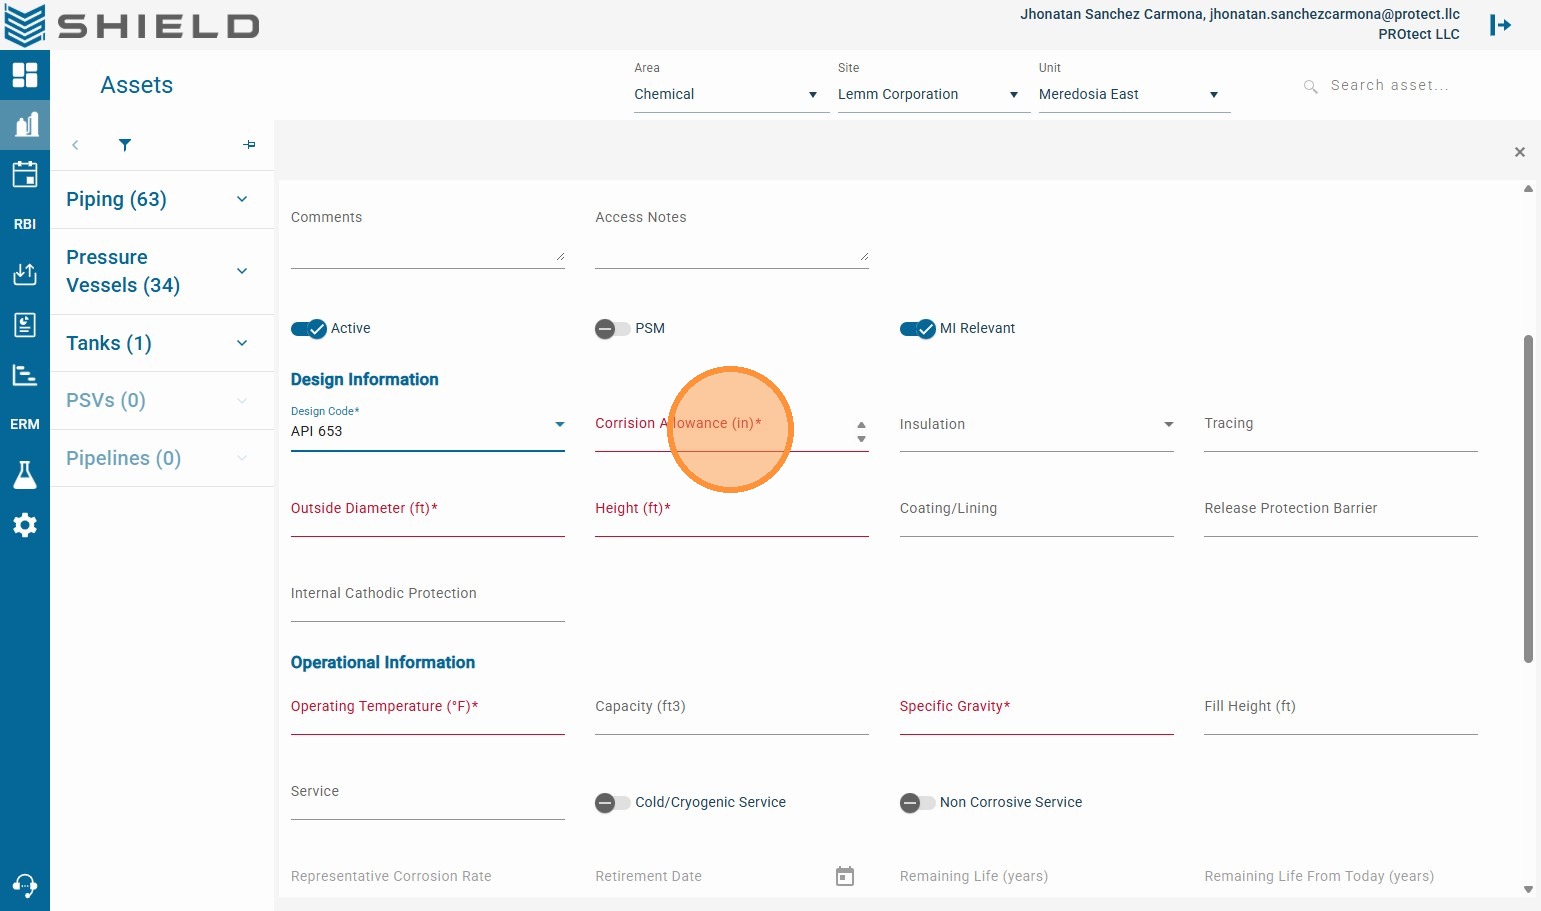
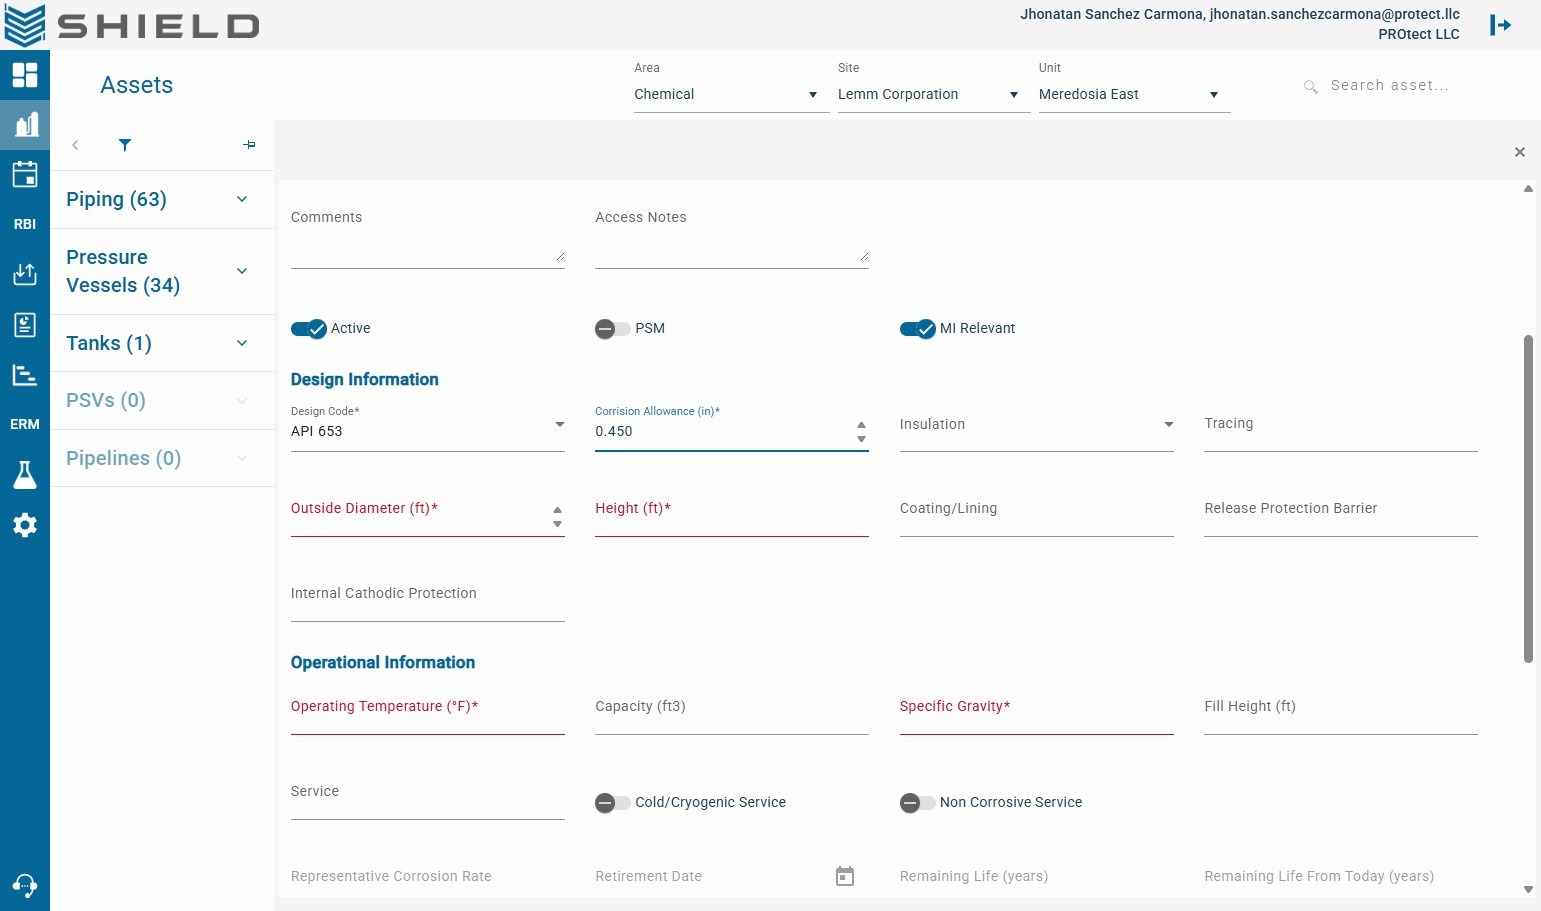
Step 13. Enter the Corrosion Allowance value.
Step 14. Click the Outside Diameter (ft) field.
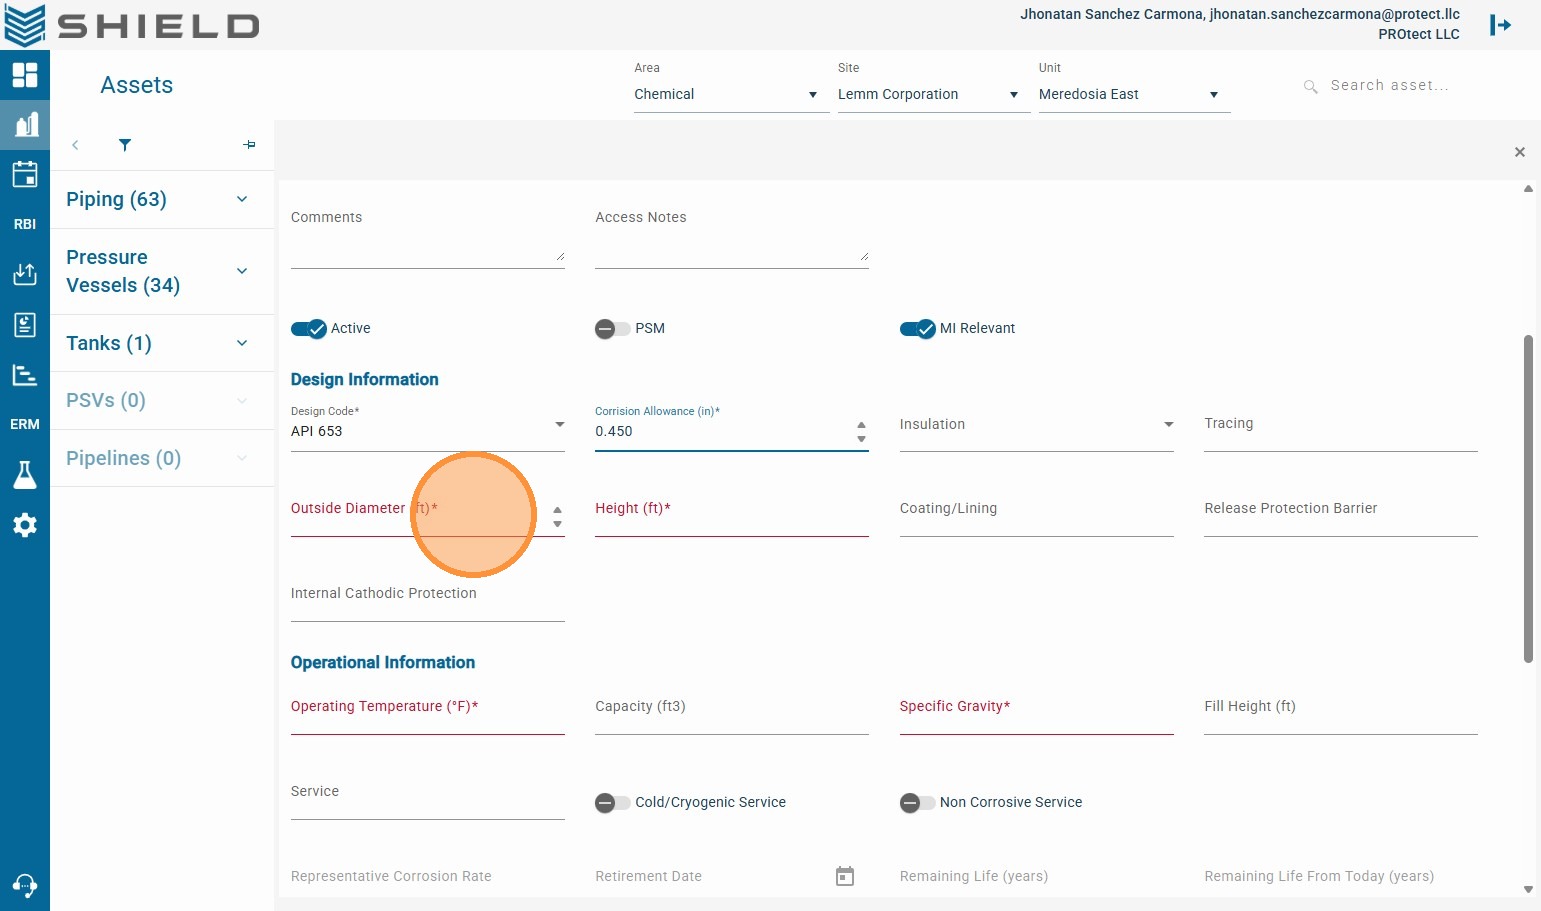
Step 15. Enter the Outside Diameter value.
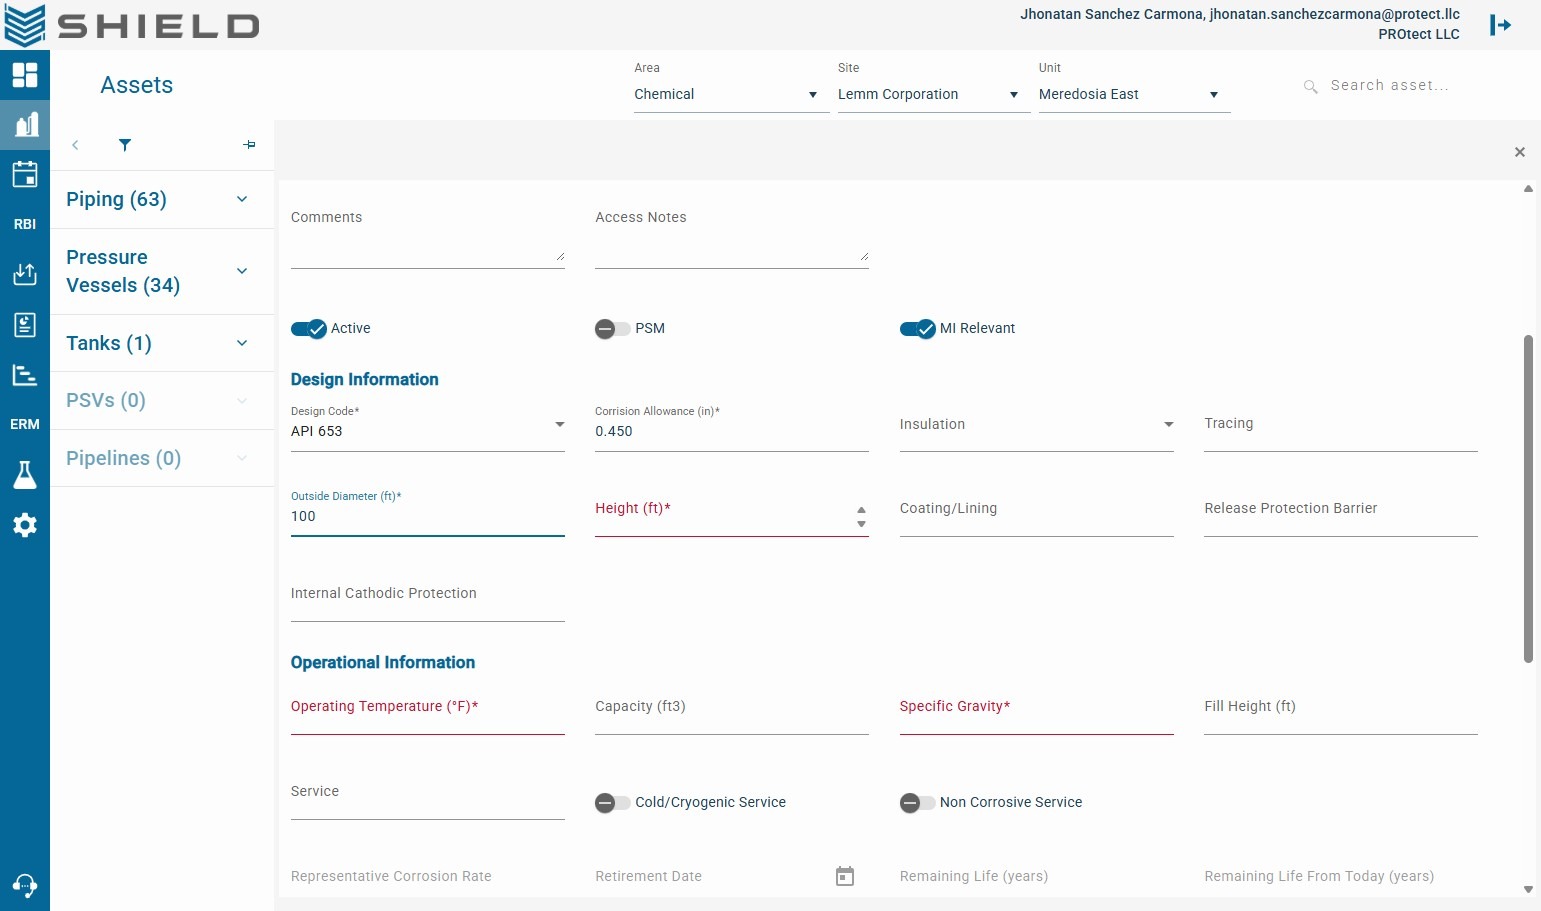
Step 16. Click the Height (ft) field.
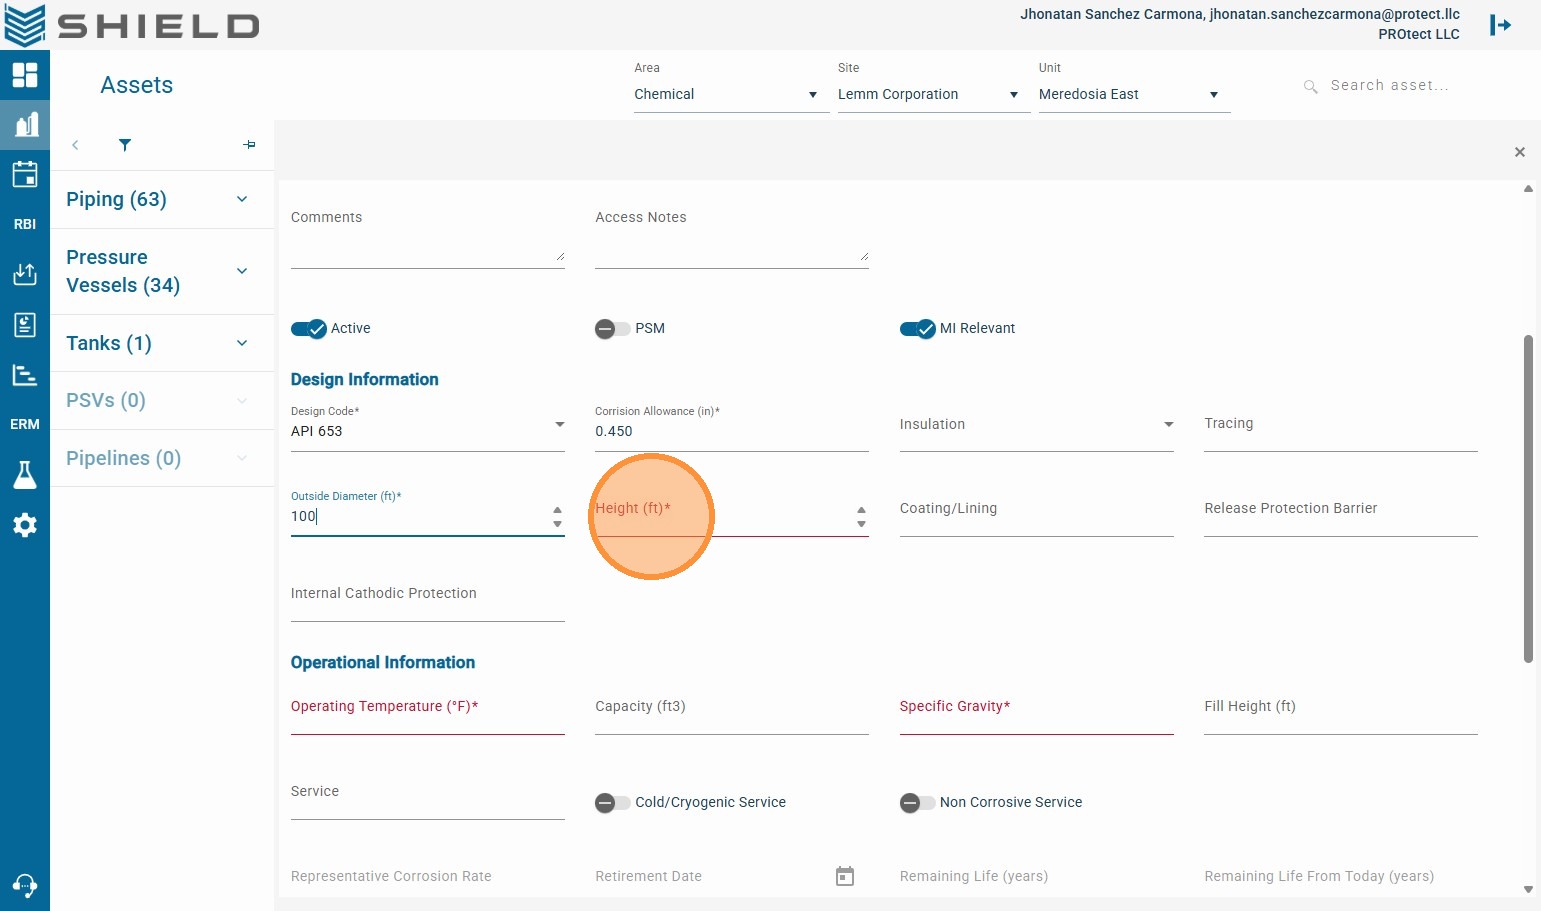
Step 17. Enter the Height value.
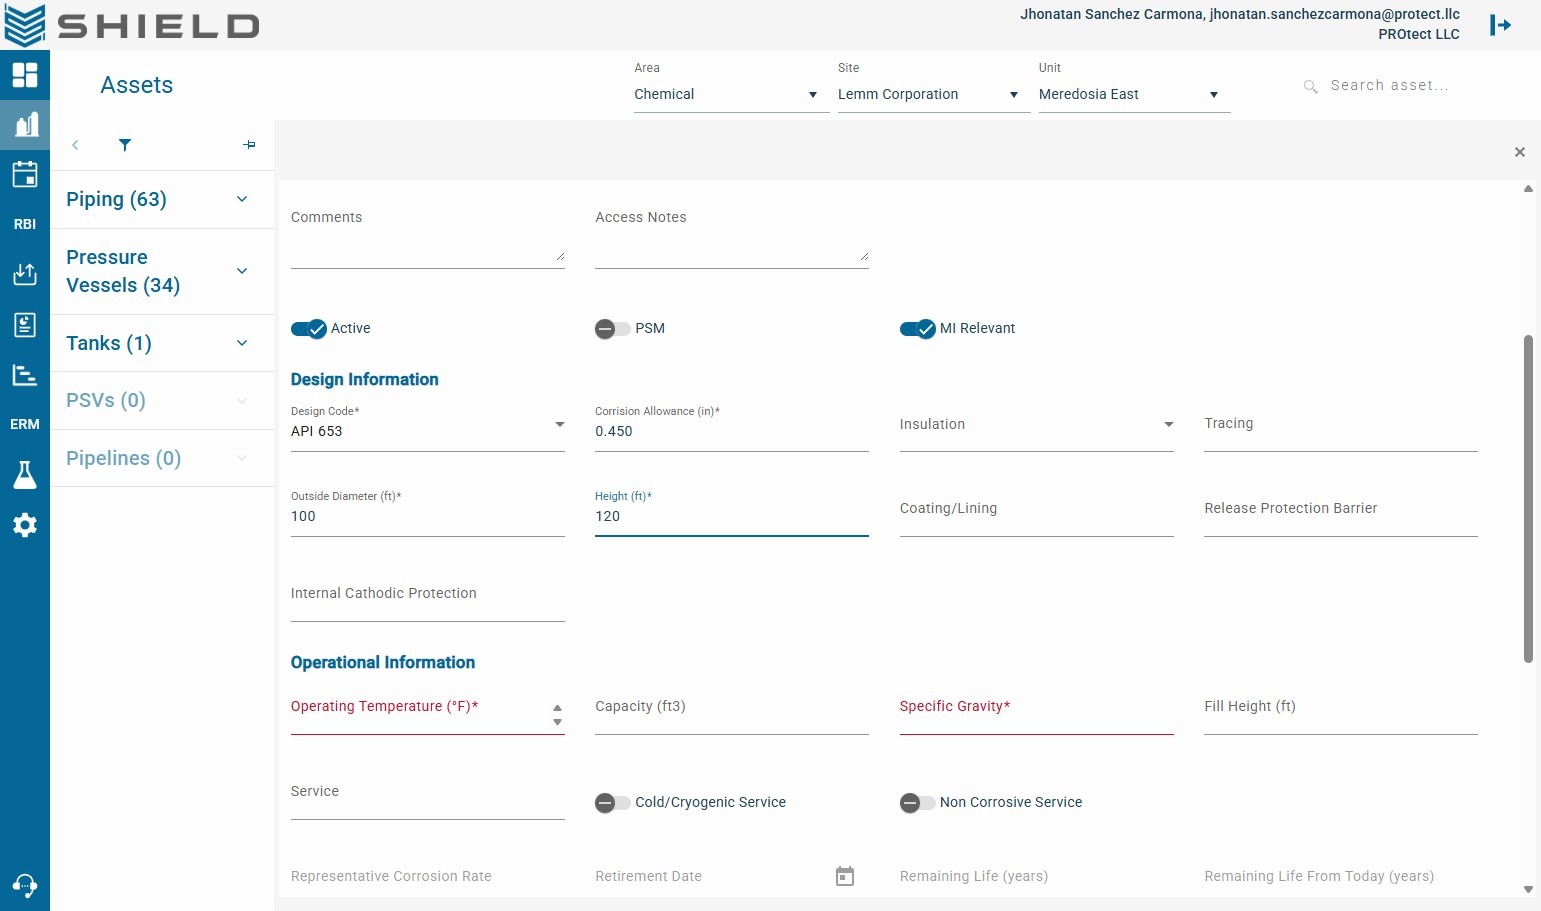
Step 18. Click Operating Temperature (°F).
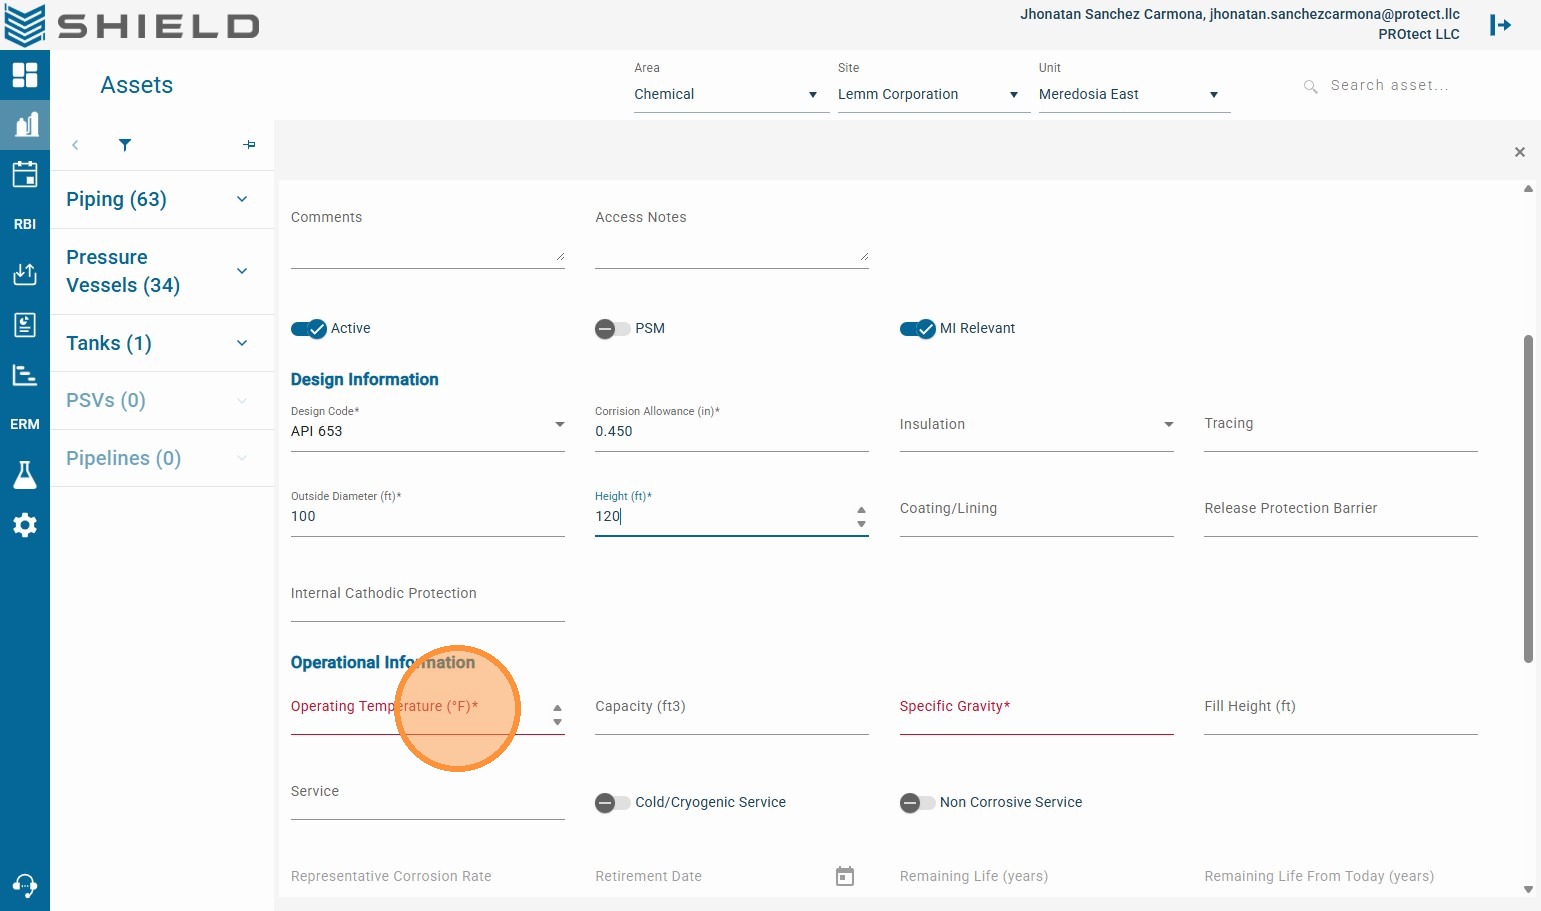
Step 19. Enter the Operating Temperature value.
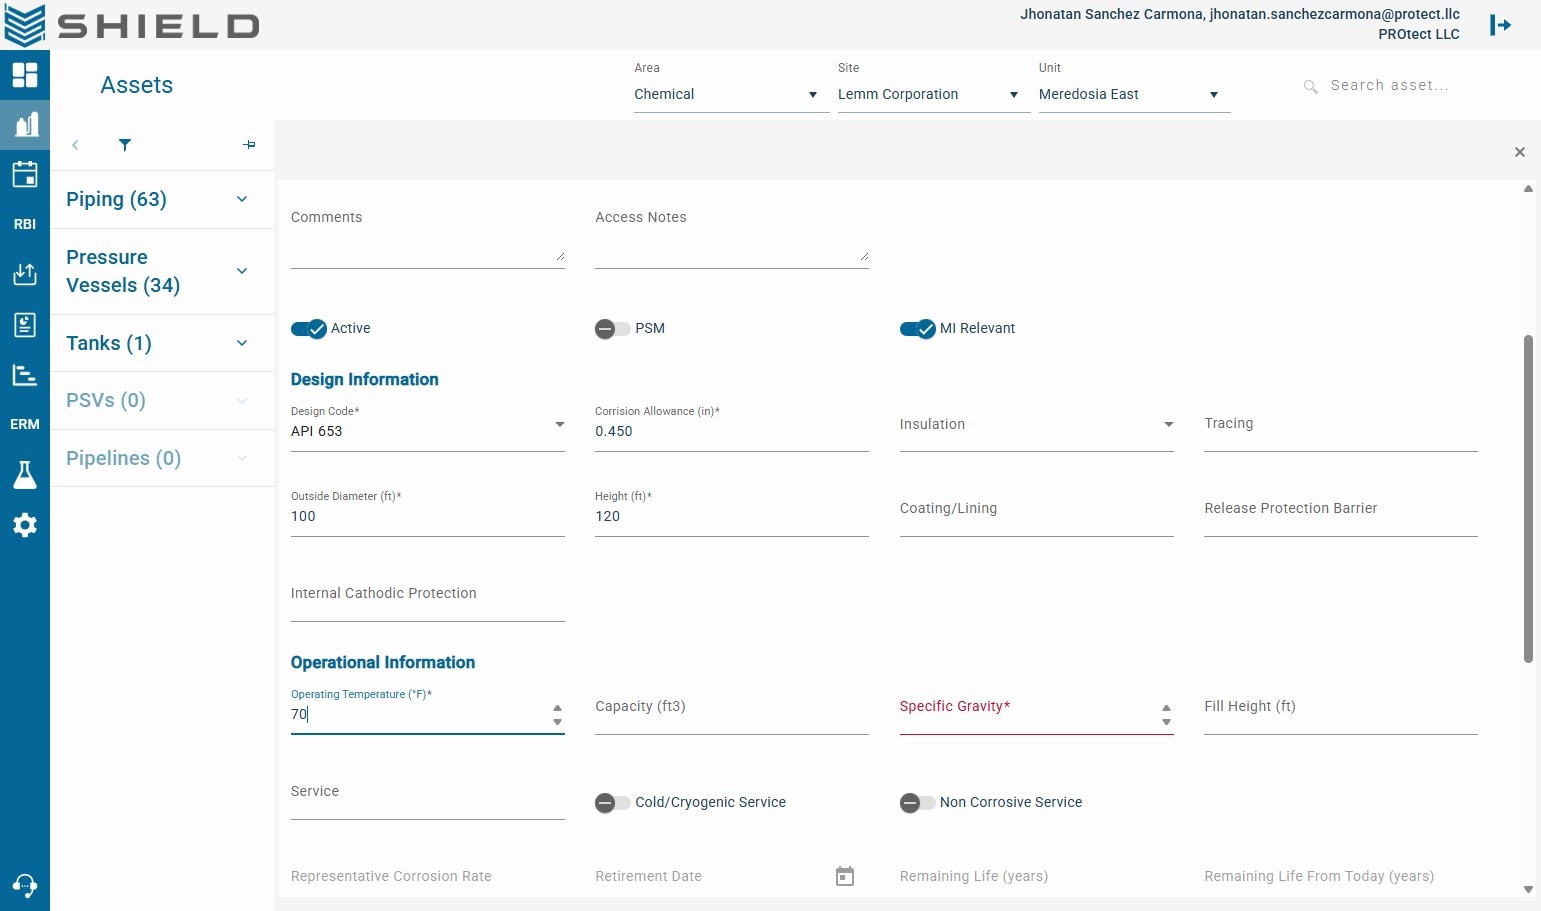
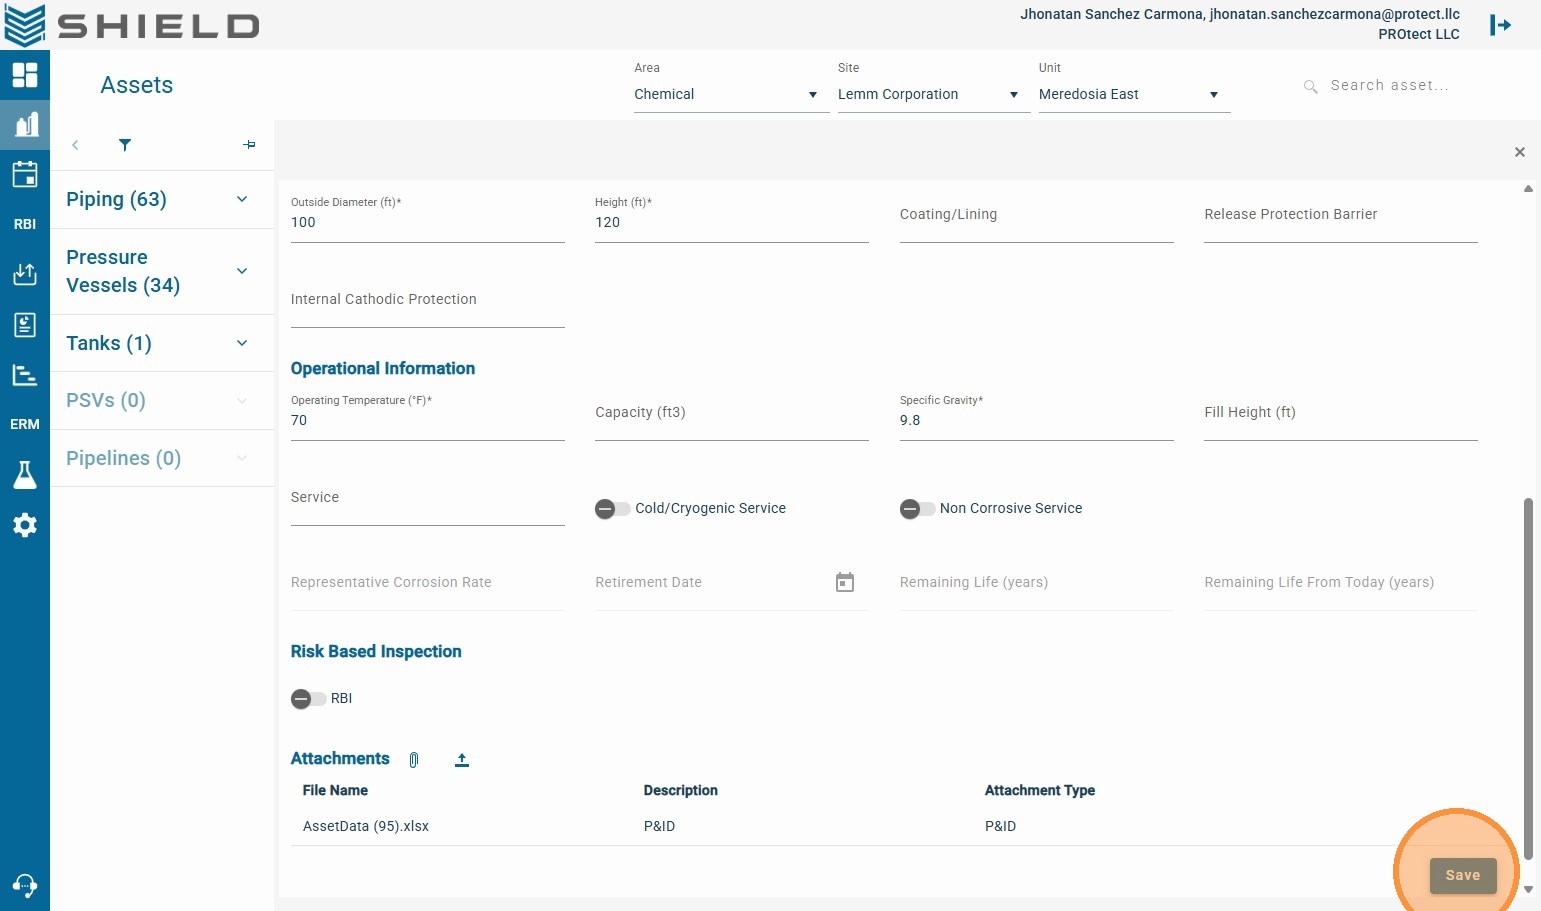
Step 20. Click the Specific Gravity field.
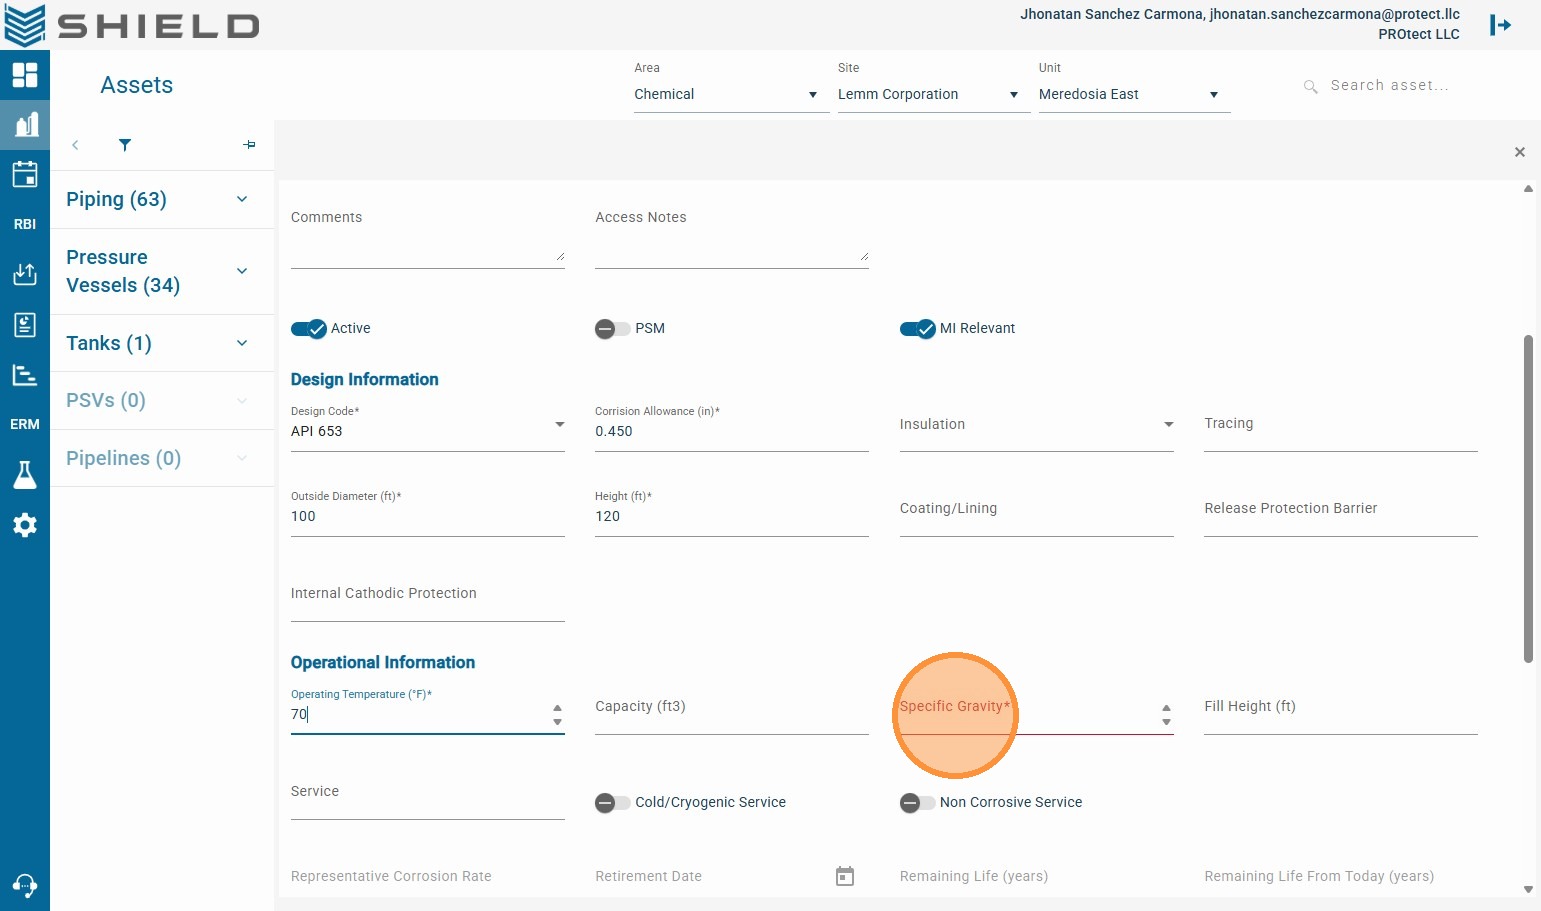
Step 21. Enter the Specific Gravity value.
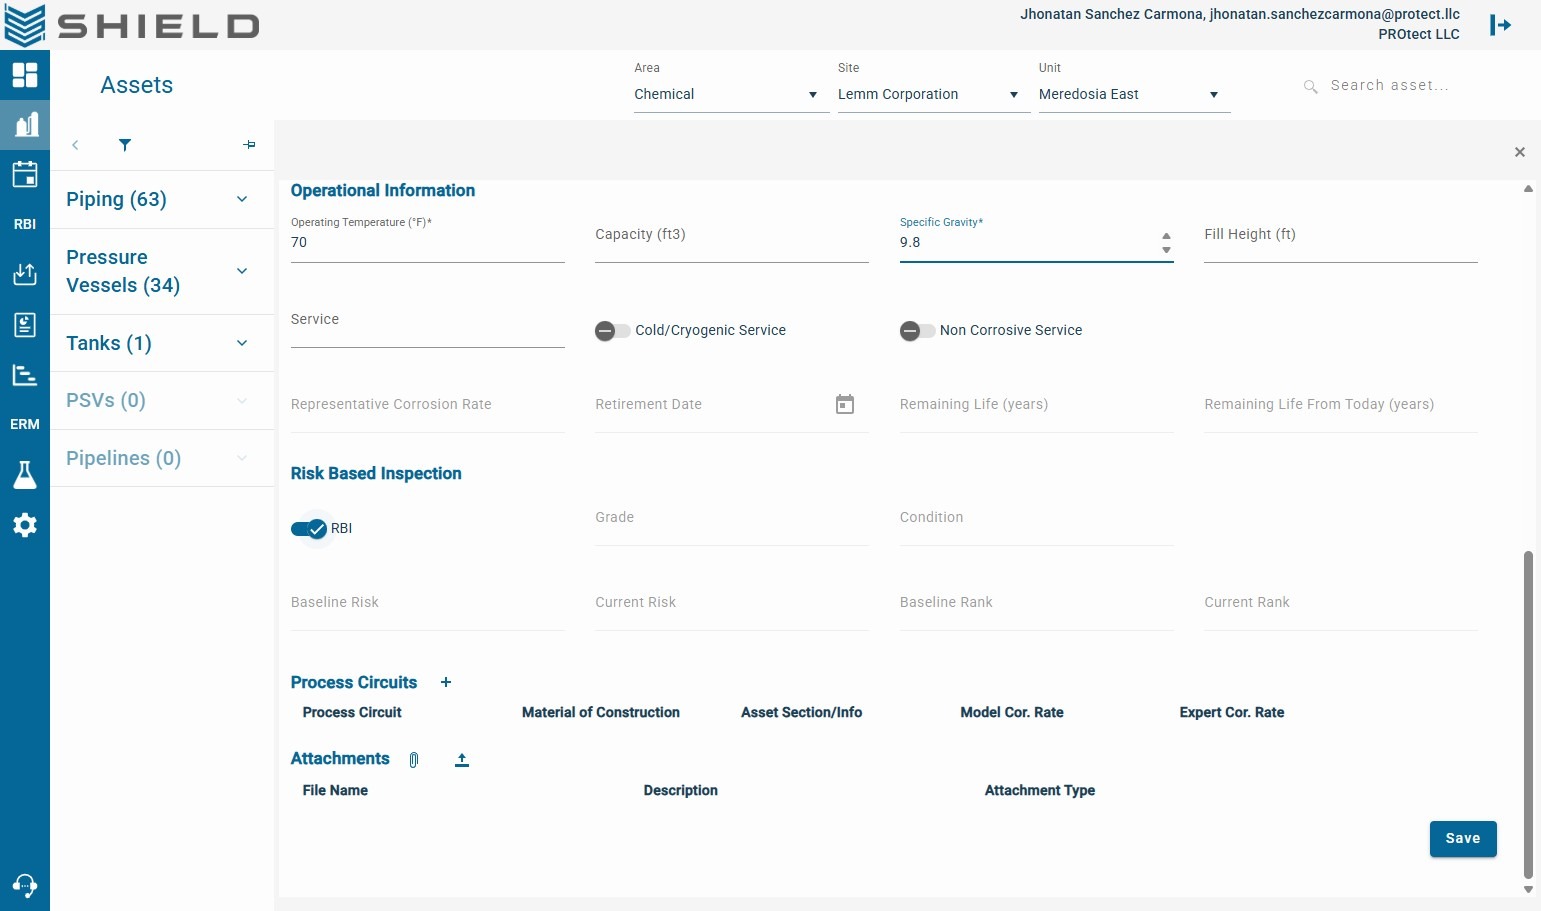
Complete optional engineering fields when available. Better data quality improves downstream MI workflows such as circuit mapping, IOW setup, and inspection scheduling.
Step 22. Click Save.
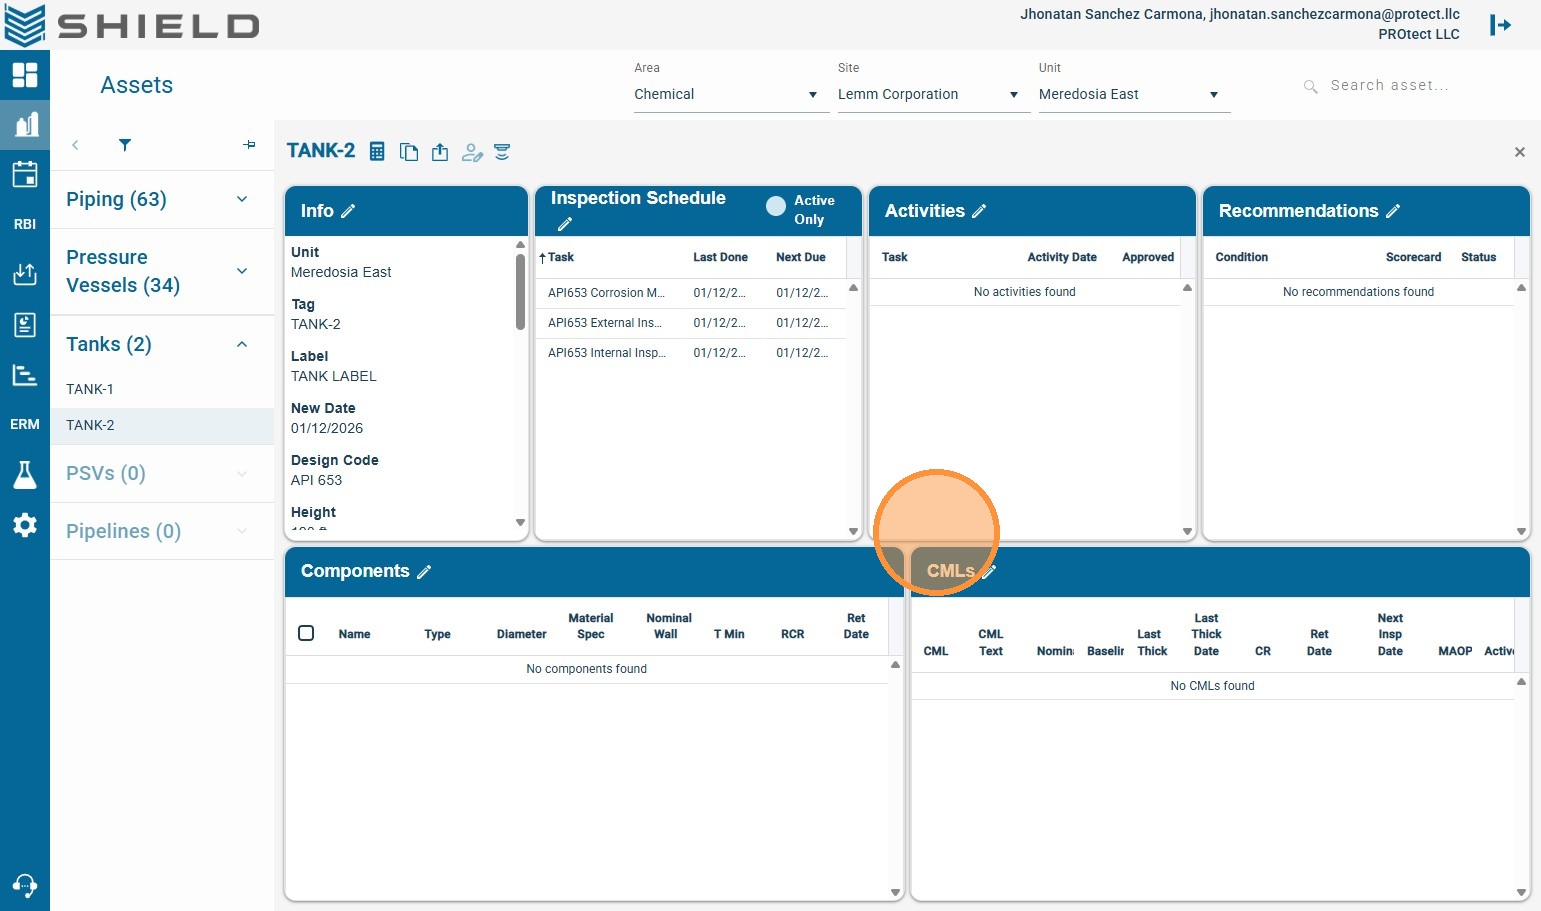
Post-Save Validation (Mechanical Integrity)
-
Confirm the equipment appears under the correct Unit and scope filters.
-
Verify key values (tag, design code, dimensions, operating data) are saved correctly.
-
Continue with MI setup by linking process context and inspection planning.