Upload Asset File Attachment
Attach supporting documents, drawings, or records to an asset in SHIELD. Files are stored in your configured SharePoint directory and linked directly to the asset record.
Overview
SHIELD allows you to attach files — such as inspection reports, P&IDs, certificates, or datasheets — directly to an asset record. Uploaded files are stored in your organization's configured SharePoint directory and become accessible from the asset within a few minutes of upload.
File attachments are stored in SharePoint and indexed after upload. The file will appear in SHIELD typically within 5 minutes due to Microsoft SharePoint's synchronization and indexing process. This delay is expected and not an error.
Steps
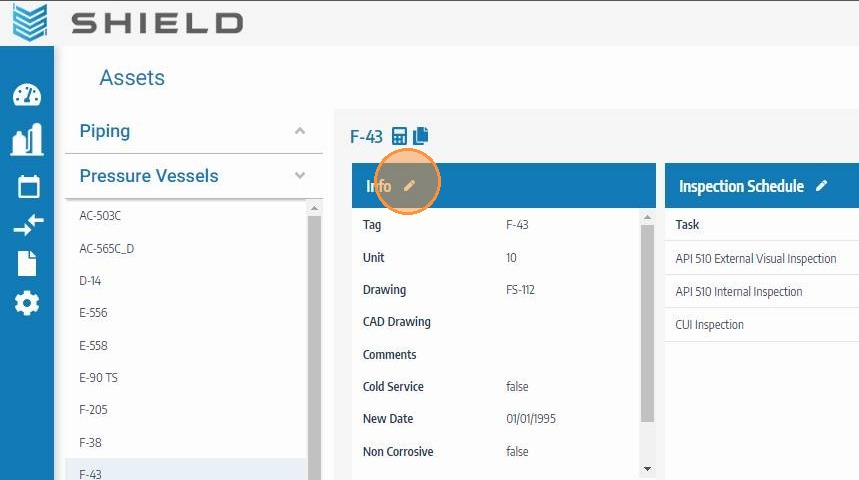
Open the Asset Info Edit Panel
Navigate to the asset you want to attach a file to. Click the asset info edit button to open the asset's detail and editing panel.
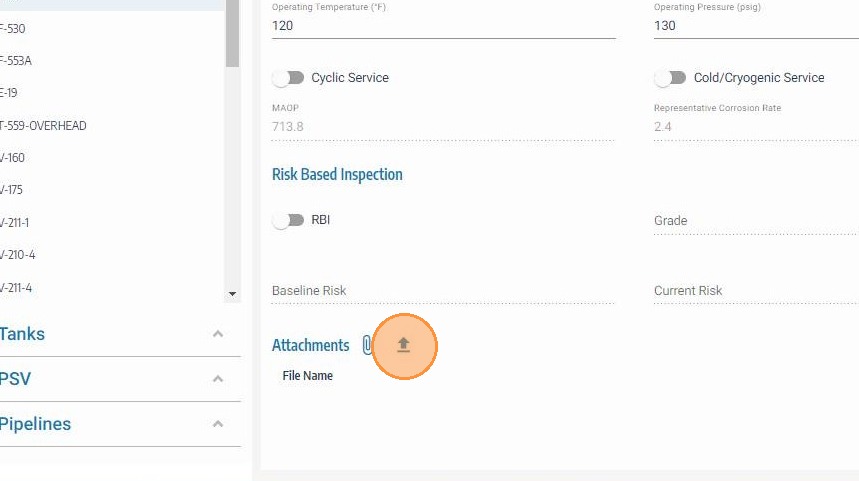
Scroll to the Attachments Section and Click Upload
Scroll to the bottom of the asset info panel to find the attachments section. Click the upload icon to open the file browser and begin the attachment process.
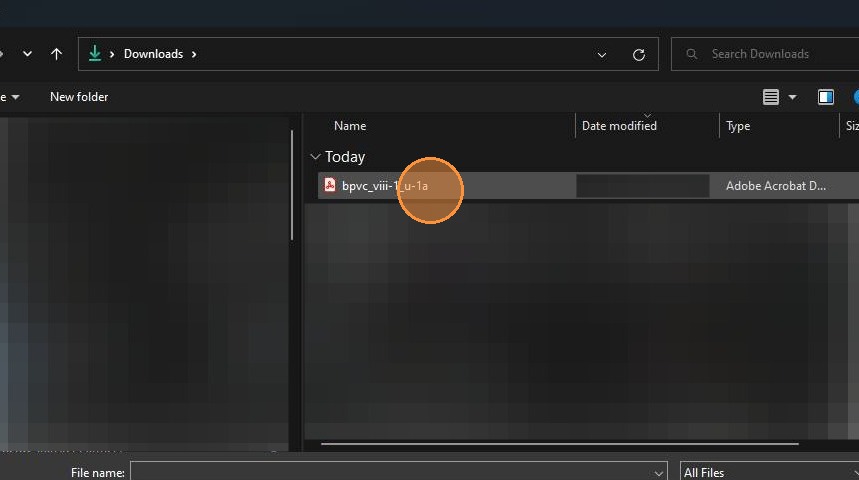
Select the File to Upload
Browse to the location of the file on your computer and click on it to select it. SHIELD supports common file types including PDFs, images, Word documents, and Excel spreadsheets.
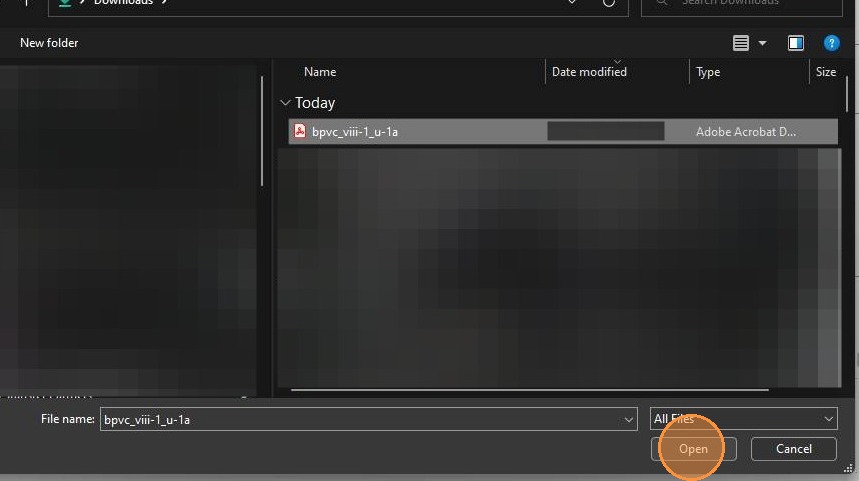
Click Open to Attach the File
Click Open to confirm the file selection and load it into SHIELD's upload form. The file is not yet uploaded — you will have the opportunity to add a description before saving.
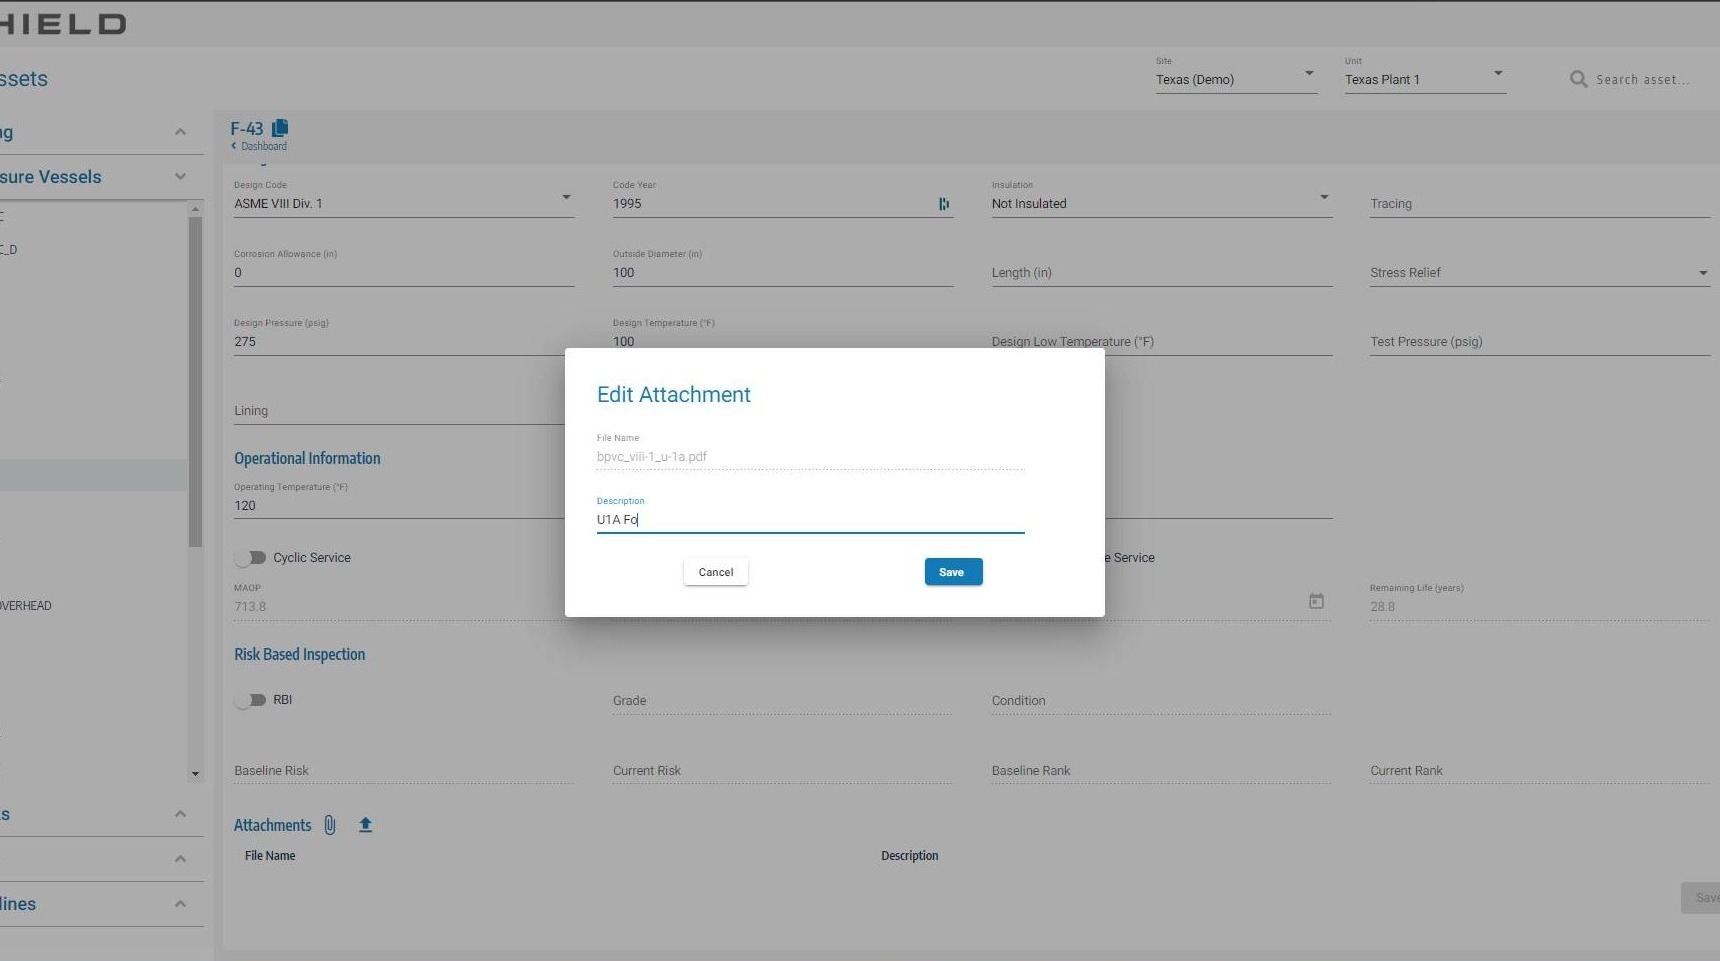
Enter a File Description
Add a clear, descriptive label for the file — for example, "Hydrostatic Test Report — Jan 2024" or "Isometric Drawing Rev 3". This description appears alongside the attachment in the asset record and helps team members identify the file without opening it.
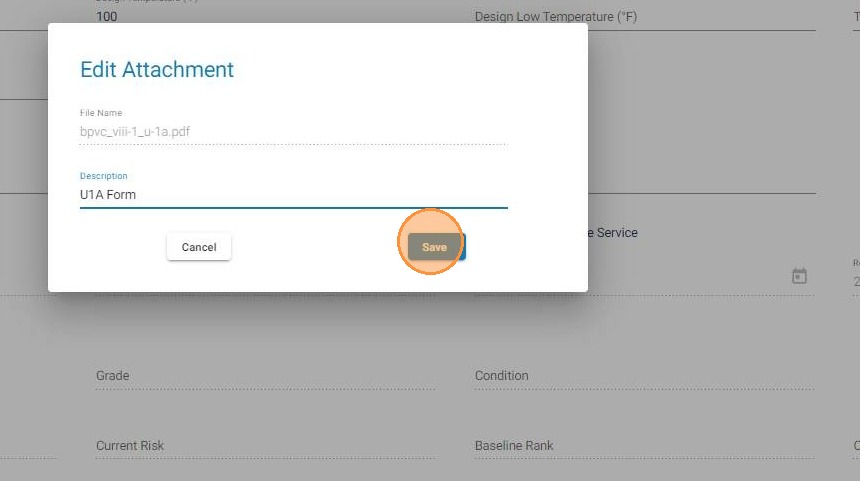
Click Save on the Attachment Form
Click Save on the attachment form to confirm the file and its description. This prepares the attachment to be written to the asset record when the full asset save is completed in the next step.
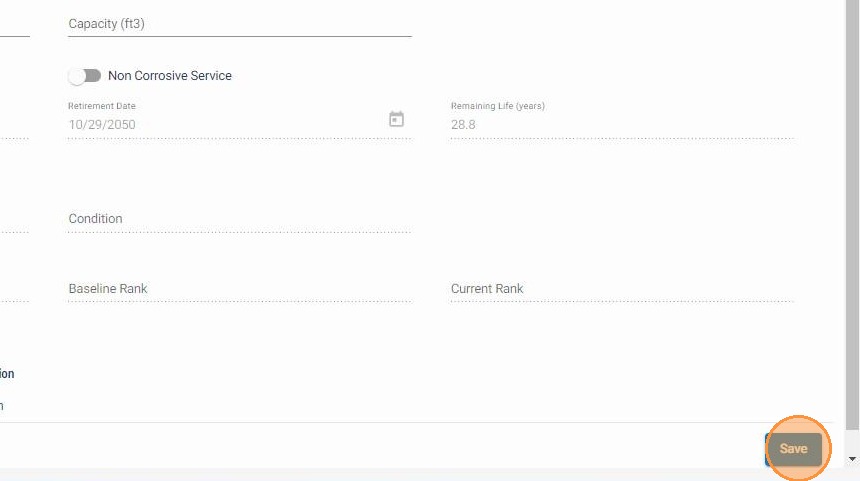
Click Save to Upload the File to SharePoint
Click the main Save button to finalize the asset record and trigger the file upload to SharePoint. Upload time depends on file size — allow up to 30 seconds for the upload to complete. The file will be available to view in SHIELD within 5 minutes once SharePoint has synchronized and indexed it.
What Happens After Upload
| Timeframe | Status |
|---|---|
| 0–30 seconds | File uploading to SharePoint — do not close the browser tab |
| Within 5 minutes | SharePoint synchronizes and indexes the file — it becomes viewable in SHIELD |
| After 5 minutes | File is fully accessible from the asset's attachments section |
If the file does not appear after 10 minutes, verify the upload completed without a browser error and check that your organization's SharePoint directory is correctly configured in SHIELD settings.
Troubleshooting
| Symptom | Cause | Fix |
|---|---|---|
| File not visible after upload | SharePoint indexing delay | Wait up to 5 minutes and refresh the asset record |
| Upload appears to hang | Large file size or slow connection | Allow up to 30 seconds; do not close the tab or navigate away |
| File not appearing after 10+ minutes | SharePoint misconfiguration or upload error | Contact your SHIELD administrator to verify SharePoint directory settings |
| Wrong file attached | File selected in error | Delete the attachment from the asset record and repeat the upload with the correct file |