Create Units
Learn how to create and configure a new unit in SHIELD Mechanical Integrity.
Create a New Unit
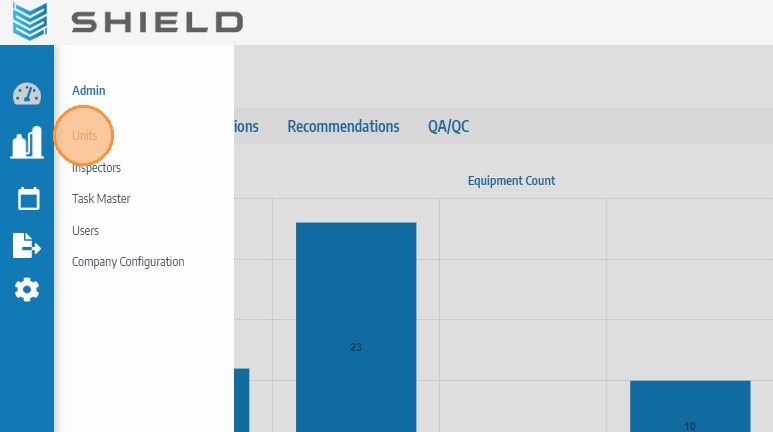
Step 1. Click the Admin icon.
Step 2. Click Units.
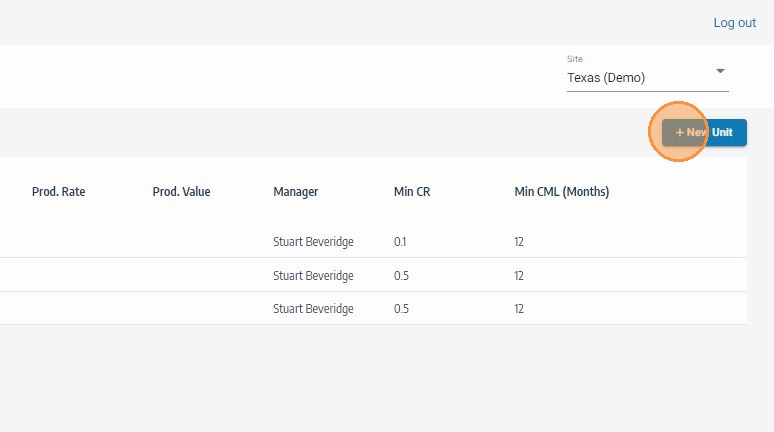
Step 3. Click + New Unit.
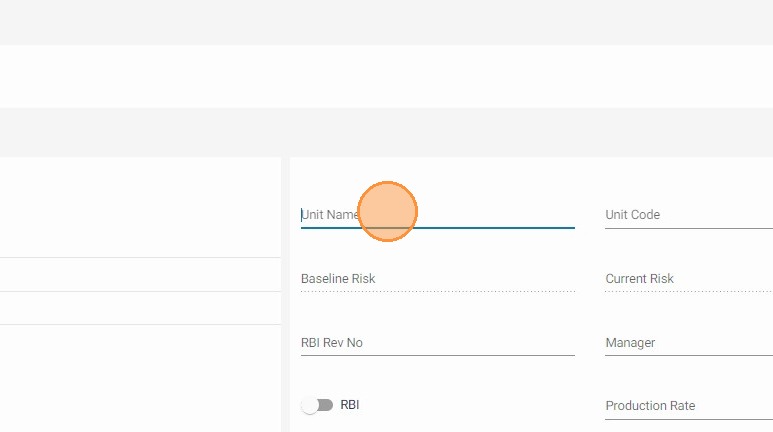
Step 4. Enter the Unit Name.
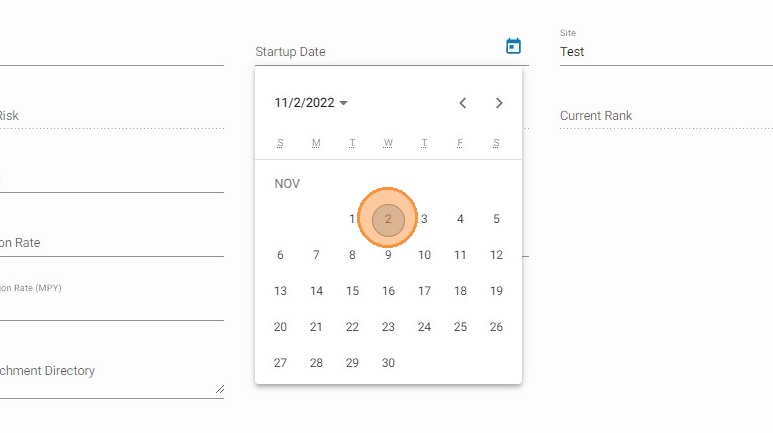
Step 5. Select the Unit Start-up Date.
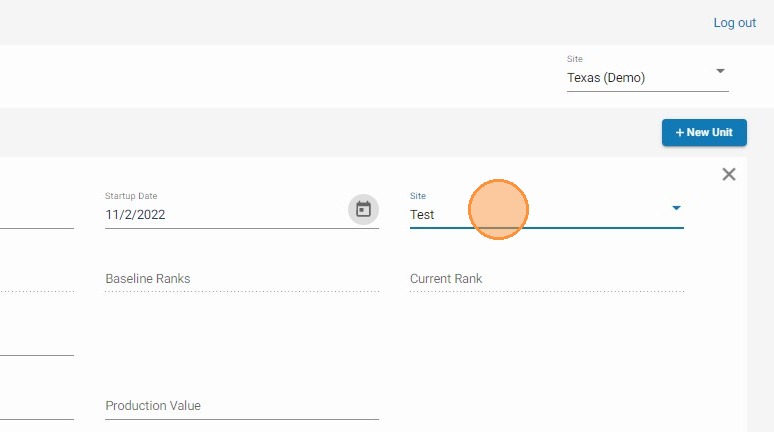
Step 6. Select the Site (and any additional hierarchy settings) this unit belongs to.
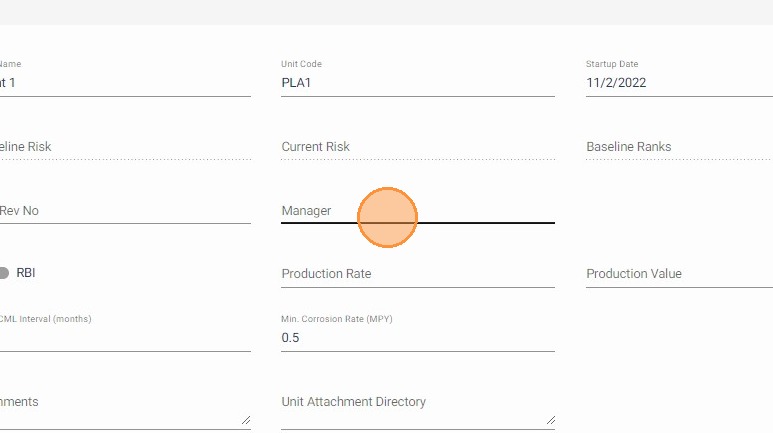
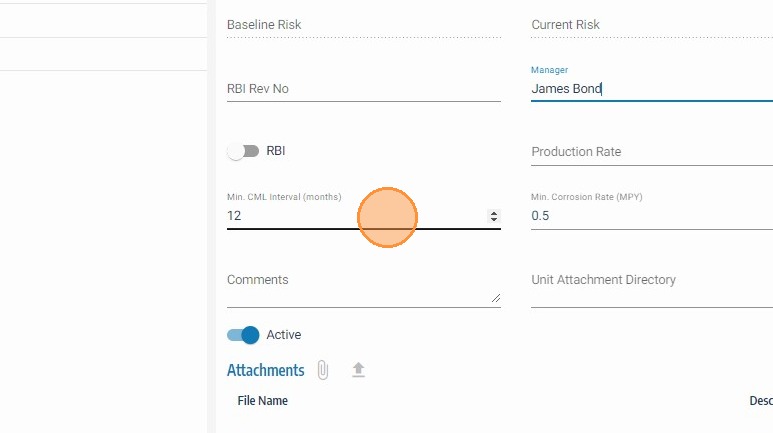
Step 7. Enter the Unit Manager Name.
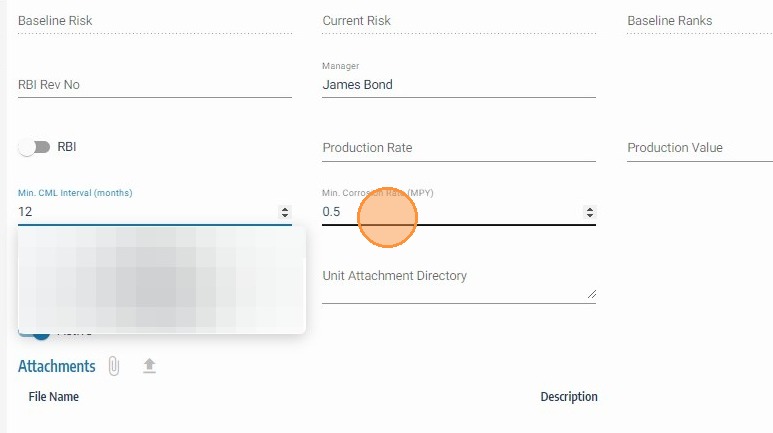
Step 8. Set the minimum interval allowed between CML thickness readings.
This defaults to the company global value, but you can adjust it at the unit level.
Step 9. Set the minimum corrosion rate for CML thickness readings.
This also defaults to the company global value and can be adjusted for the unit.
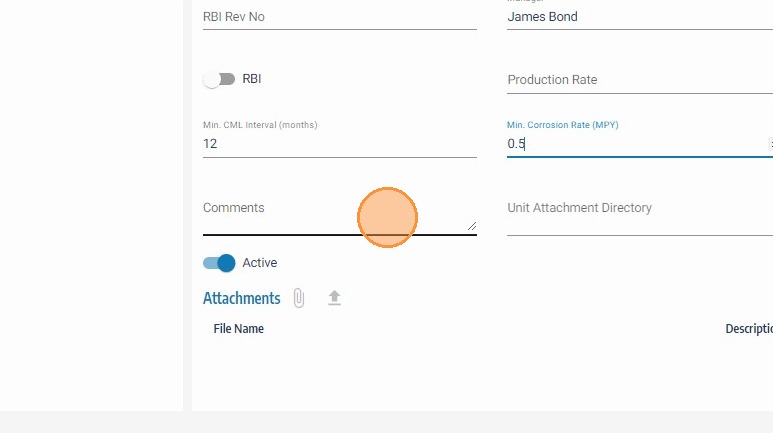
Step 10. Add Unit Comments (for example: major expansions, turnarounds, or engineering notes).
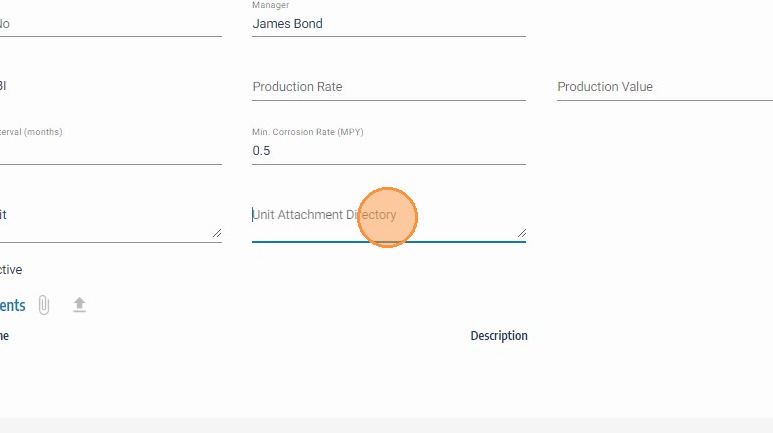
Step 11. Enter the Unit Folder Name linked to SharePoint.
SHIELD uses this location to save uploads and find unit attachments.
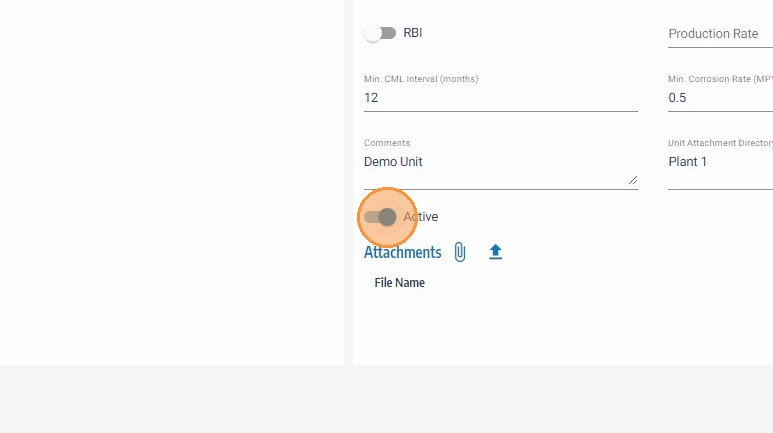
Step 12. Select whether the unit is Active.
Inactive units are archived and hidden from dashboard metrics until reactivated.
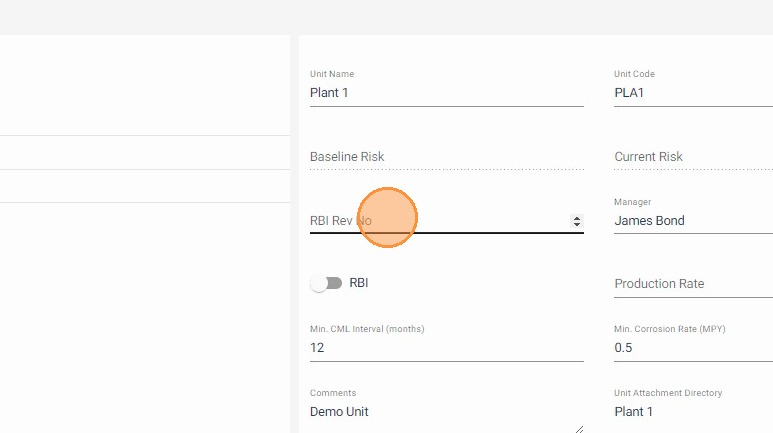
Step 13. Enter the Database Revision Number to track major rule or calculation changes.
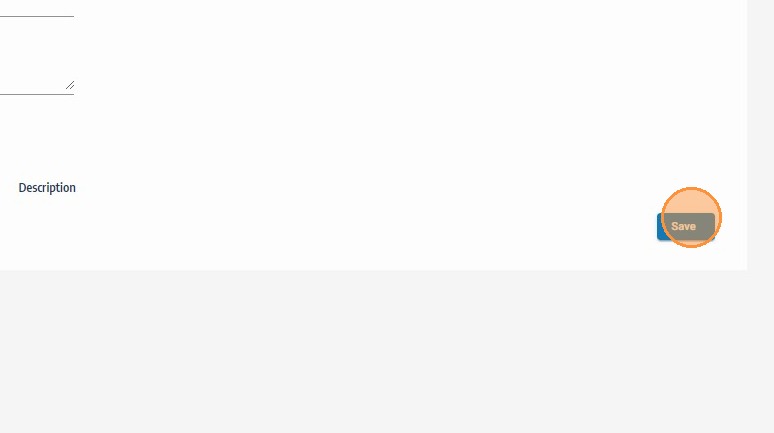
Step 14. Click Save.
After saving, confirm the unit appears in your expected site/company hierarchy and that active status is correct before assigning assets.