Complete Asset Import Template
Fill out and upload a completed SHIELD asset import template to create or update equipment records in bulk.
Overview
Once you have generated the asset import template, this guide walks you through completing the data, validating it, and uploading it into SHIELD. The import process includes built-in validation that flags new records, updates, and errors before any data is written to the database.
Part 1 — Complete the Template in Excel
Fill In the Required Data
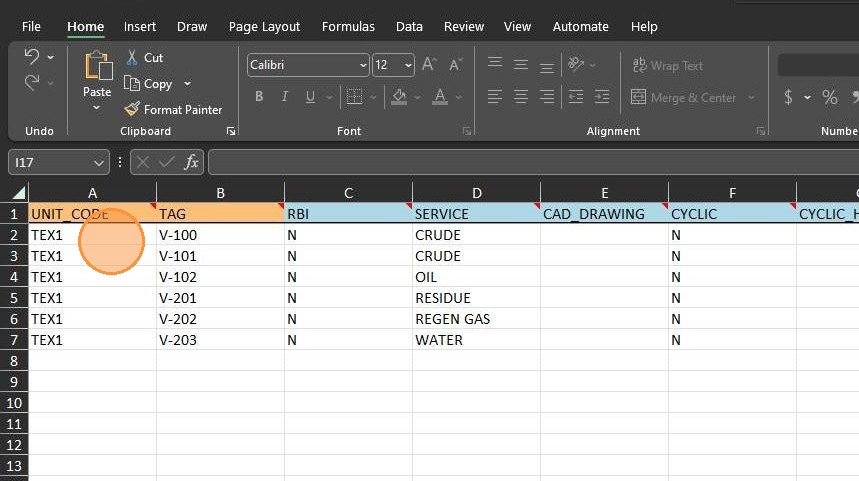
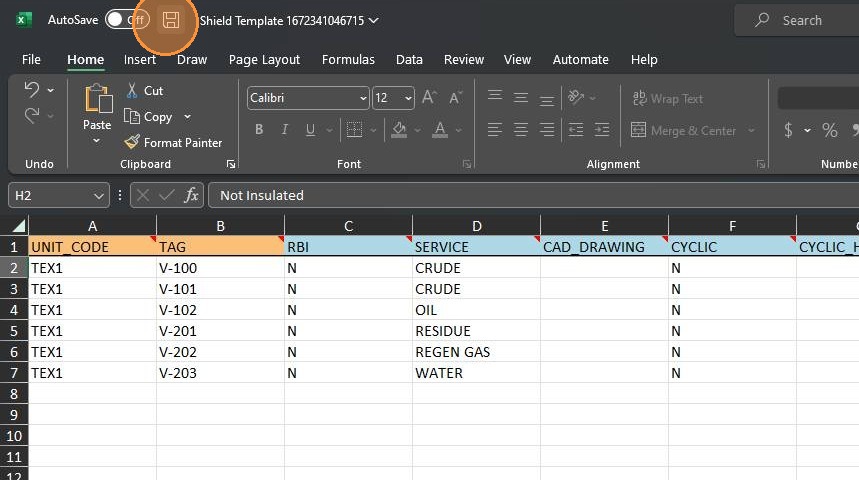
Open the generated template and begin entering asset data row by row. Each row represents one asset record. Work within the pre-formatted rows to ensure data validation rules are applied correctly.
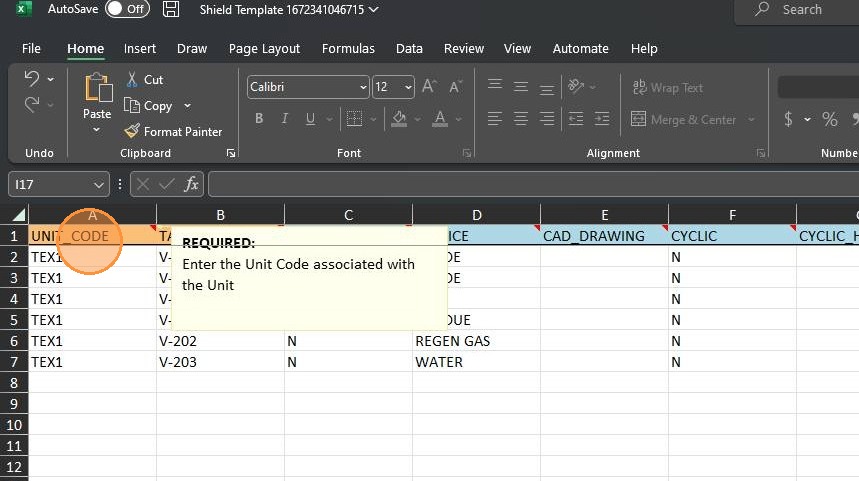
Follow Column Header Instructions
Each column header contains a tooltip or label describing the field and the data format expected. Use the color coding to prioritize your data entry:
-
🟠 Orange header — field is required. The row will fail validation if left blank.
-
🔵 Blue header — field is optional. Leave blank if not applicable.
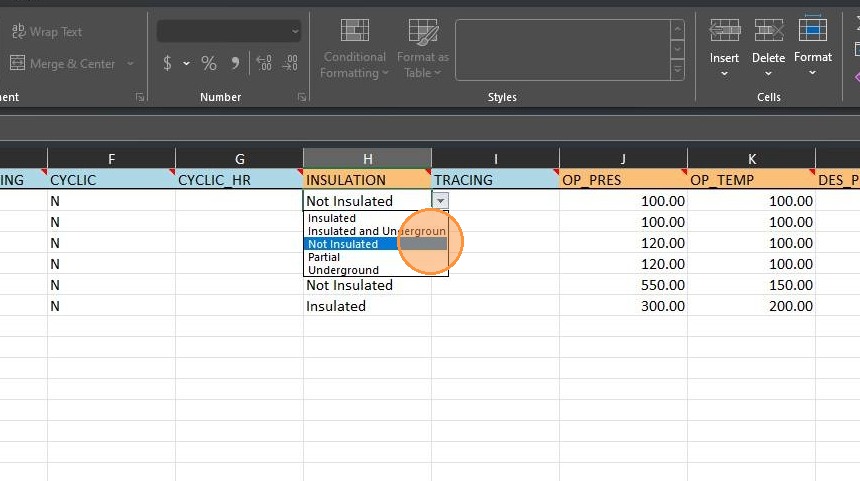
Use Dropdown Lists for Validated Fields
Some fields are restricted to values configured in your company's SHIELD database — for example, insulation type, corrosion allowance categories, or equipment class. These fields display a dropdown list. Always select from the dropdown rather than typing a value manually to avoid validation errors on import.
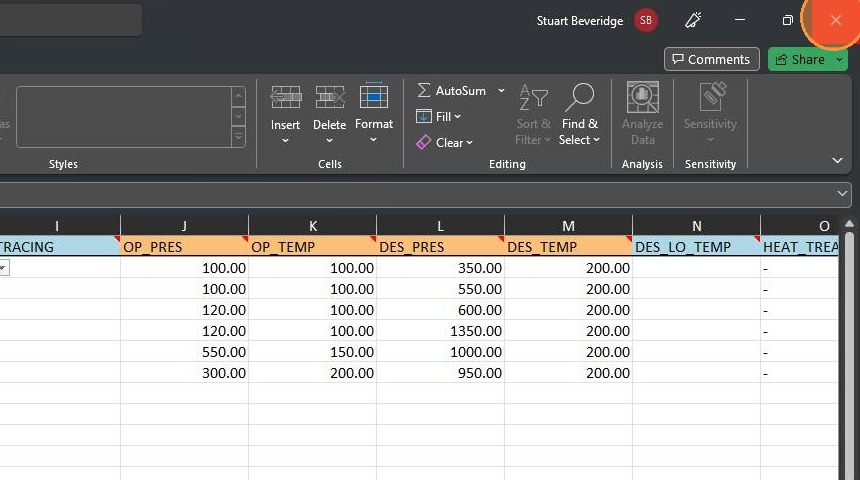
Save the Completed File
When all rows are complete, save the file using Ctrl+S (Windows) or Cmd+S (Mac). Keep the original filename and file format — do not save as CSV or change the extension from .xlsx.
Close the File Before Importing
Close the Excel file completely before returning to SHIELD. The file must not be open or locked by Excel during the import process. An open file may cause the upload to fail or result in incomplete data being read.
Part 2 — Import the Template into SHIELD
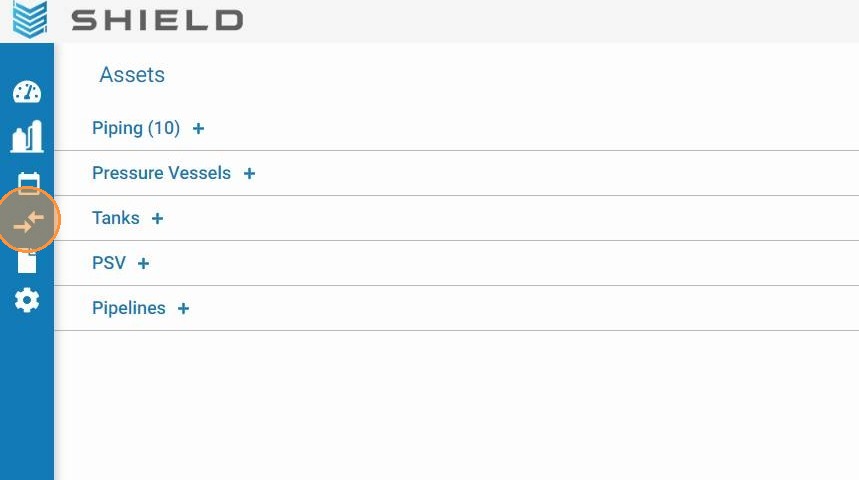
Return to SHIELD and Open Import/Export
Navigate back to the Assets page in SHIELD and click the Import/Export icon in the toolbar to reopen the import panel.
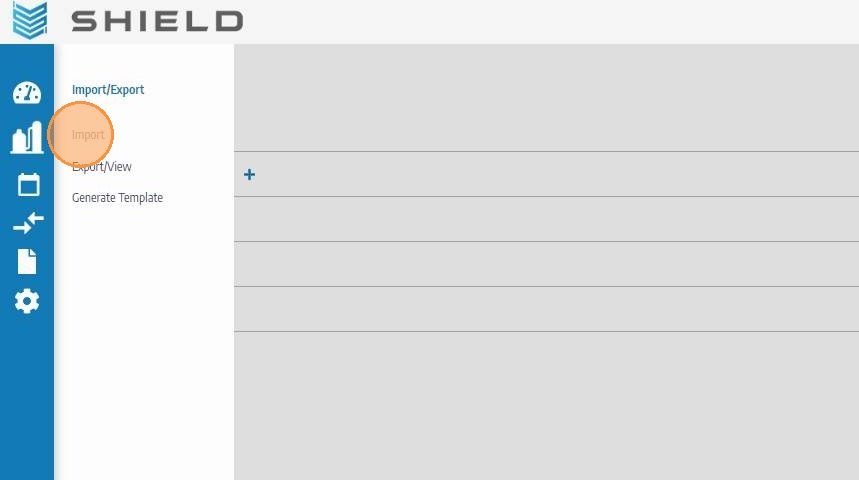
Select Import
In the panel, click Import to begin the file upload workflow.
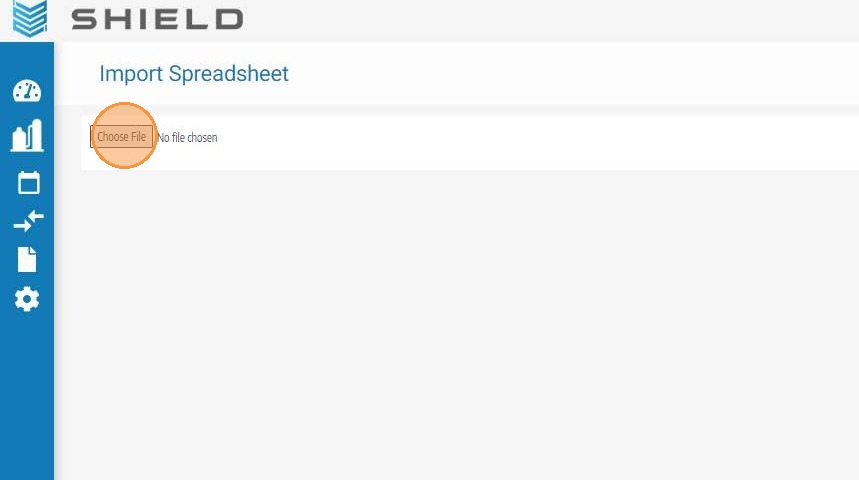
Click Choose File
Click Choose File to open your system's file browser and locate the completed template file you saved in Part 1.
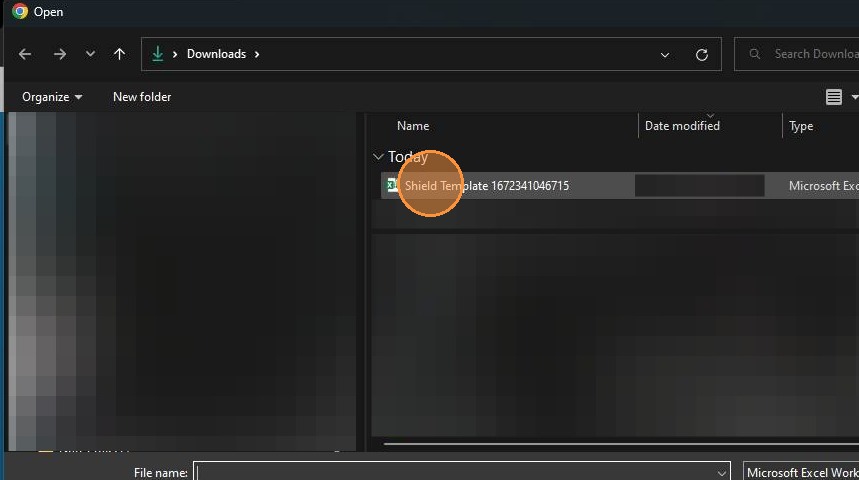
Select the Template File
Browse to the location where you saved the file and click on it to select it.
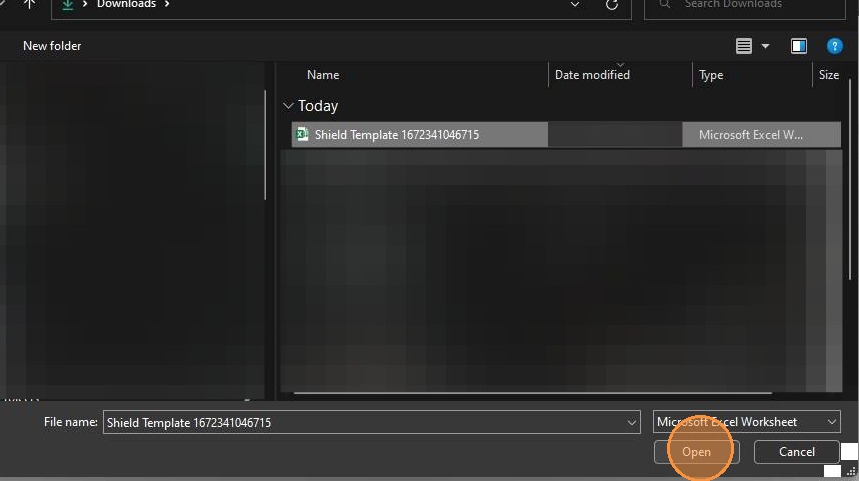
Click Open to Load the File
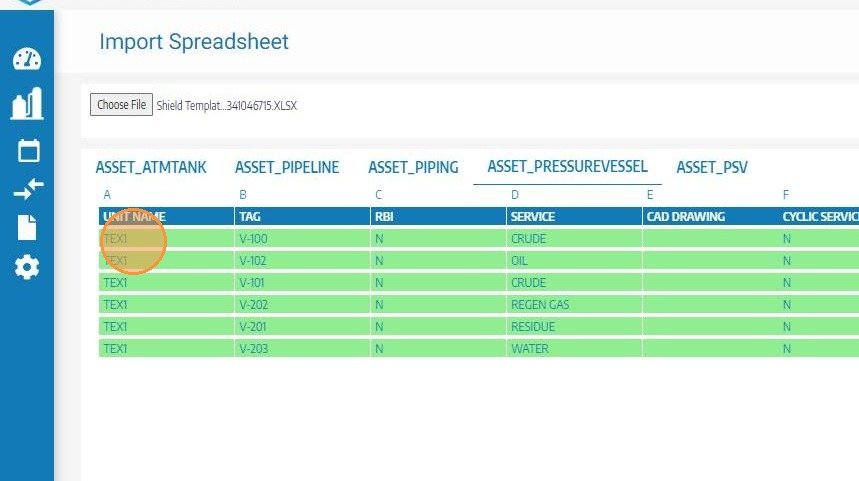
Click Open to upload the file into SHIELD. The system will read the workbook and display each worksheet as a selectable tab across the top of the import window.
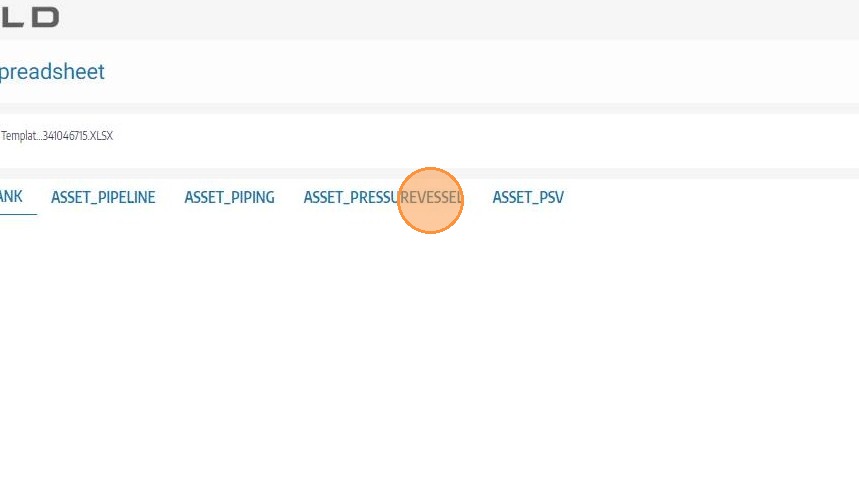
Review Worksheets by Asset Type
Once loaded, switch between asset type worksheets using the tab names along the top of the import window. Review each sheet's data before proceeding to validation.
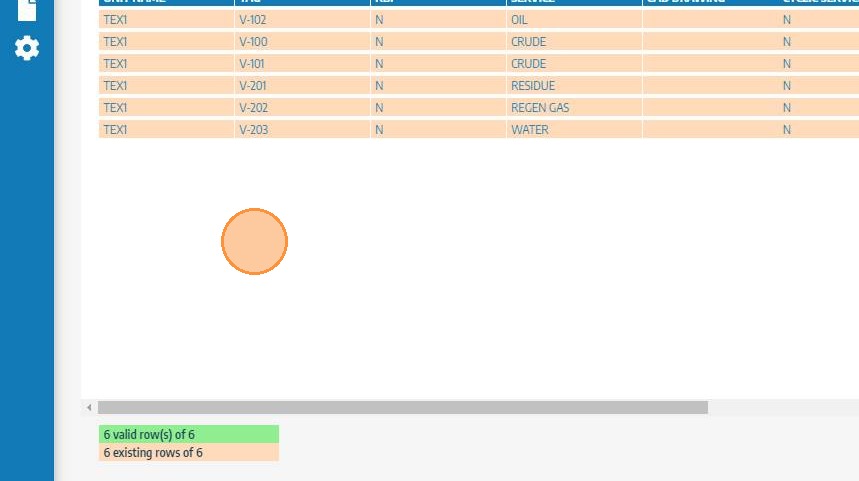
Review Row-Level Validation Results
SHIELD automatically validates each data row and highlights it based on status. All red rows must be resolved before the import can proceed.
| Color | Meaning | Action Required |
|---|---|---|
| 🟢 Green | New valid record — ready to import | None |
| 🟠 Orange | Existing record — will be updated | Review changes before importing |
| 🔴 Red | Validation failure — cannot be imported | Fix the data in Excel or delete the row, then re-upload |
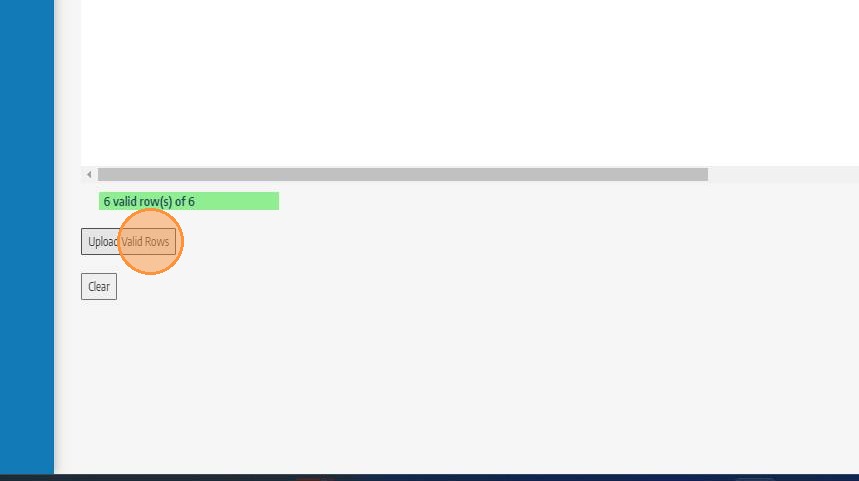
Click Upload Valid Rows
Once all rows are green or orange (no red rows remain), click Upload Valid Rows. SHIELD will write the data to the database and refresh the import view.
Confirm Import Success and Repeat for Each Asset Type
After the refresh, successfully imported rows will appear orange — confirming the asset now exists in the database. Switch to the next asset type worksheet and repeat the review and upload process until all asset types have been imported.