Attach File to Assets
Link an existing file from your organization's SharePoint directory directly to an asset record in SHIELD.
Overview
This guide covers linking a file that already exists in SharePoint to an asset record in SHIELD. Unlike uploading a new file, this process browses your mapped SharePoint directory and creates a reference link from the asset to the file — no upload or sync delay required if the file is already indexed.
This is different from uploading a new file. If you need to upload a file from your local computer to SharePoint and attach it to an asset, see Upload Asset File Attachment instead.
Steps
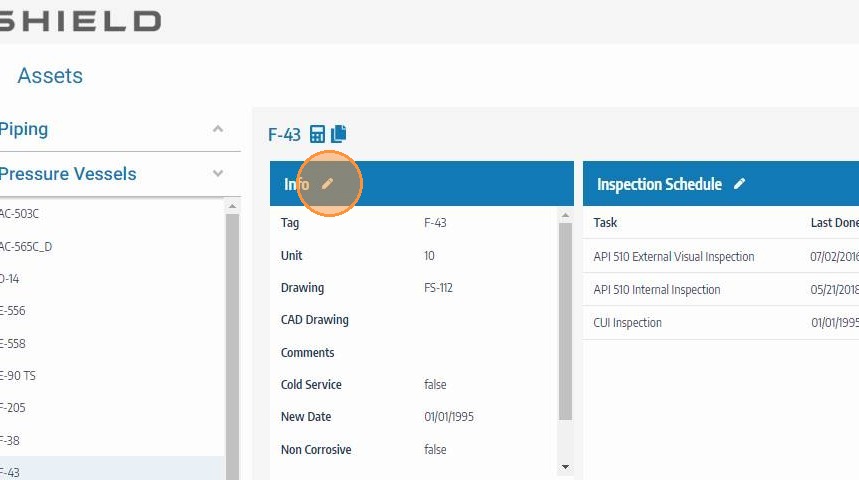
Open the Asset Info Edit Panel
Navigate to the asset you want to attach a file to. Click the asset info edit button to open the asset's detail and editing panel.
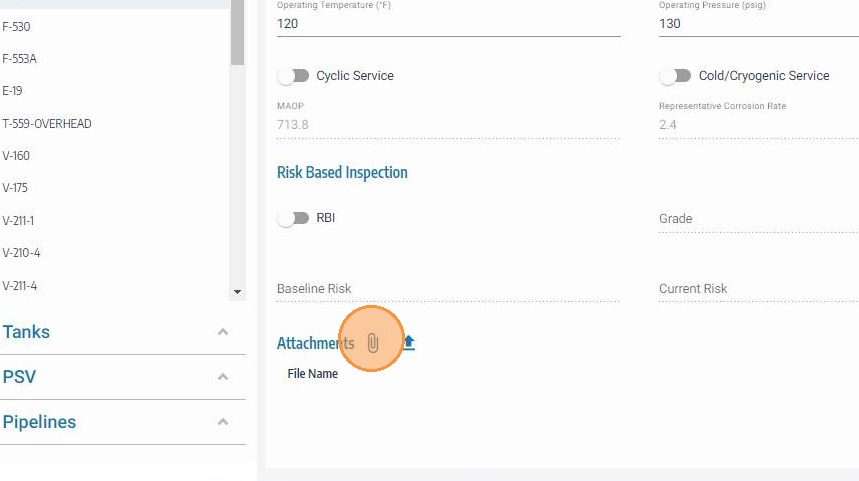
Scroll to the Attachments Section and Click the File Attach Icon
Scroll to the bottom of the asset info panel to locate the attachments section. Click the file attach icon to open the SharePoint file browser. This icon links to your organization's mapped SharePoint directory rather than your local file system.
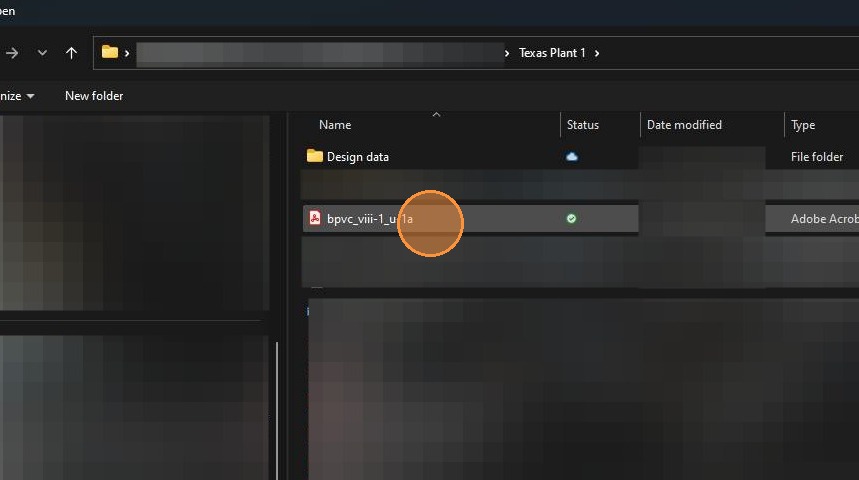
Browse the SharePoint Directory and Select a File
Navigate through the mapped SharePoint folder structure to find the file you want to link. Select the file by clicking on it. Only files within the configured SharePoint directory will be visible here — if the file you need is not present, it must be uploaded to SharePoint first.
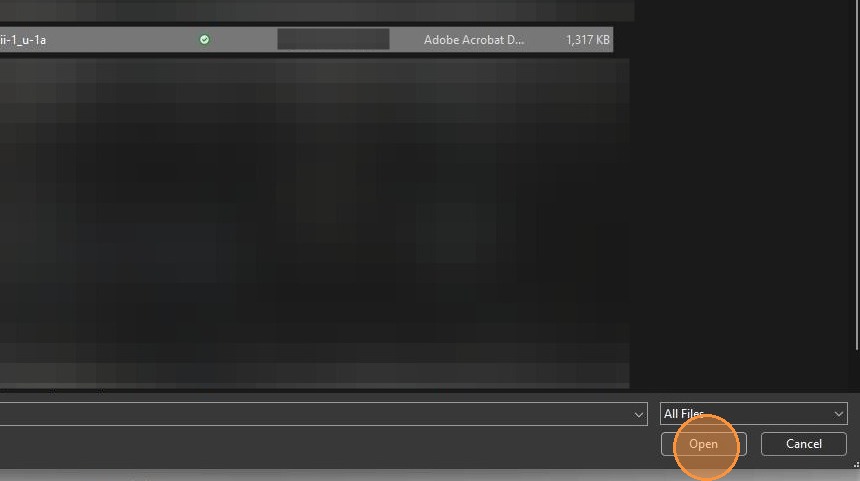
Click Open to Confirm the File Selection
Click Open to confirm your selection and load the file reference into SHIELD's attachment form. The file is not yet saved to the asset — you will add a description before finalizing.
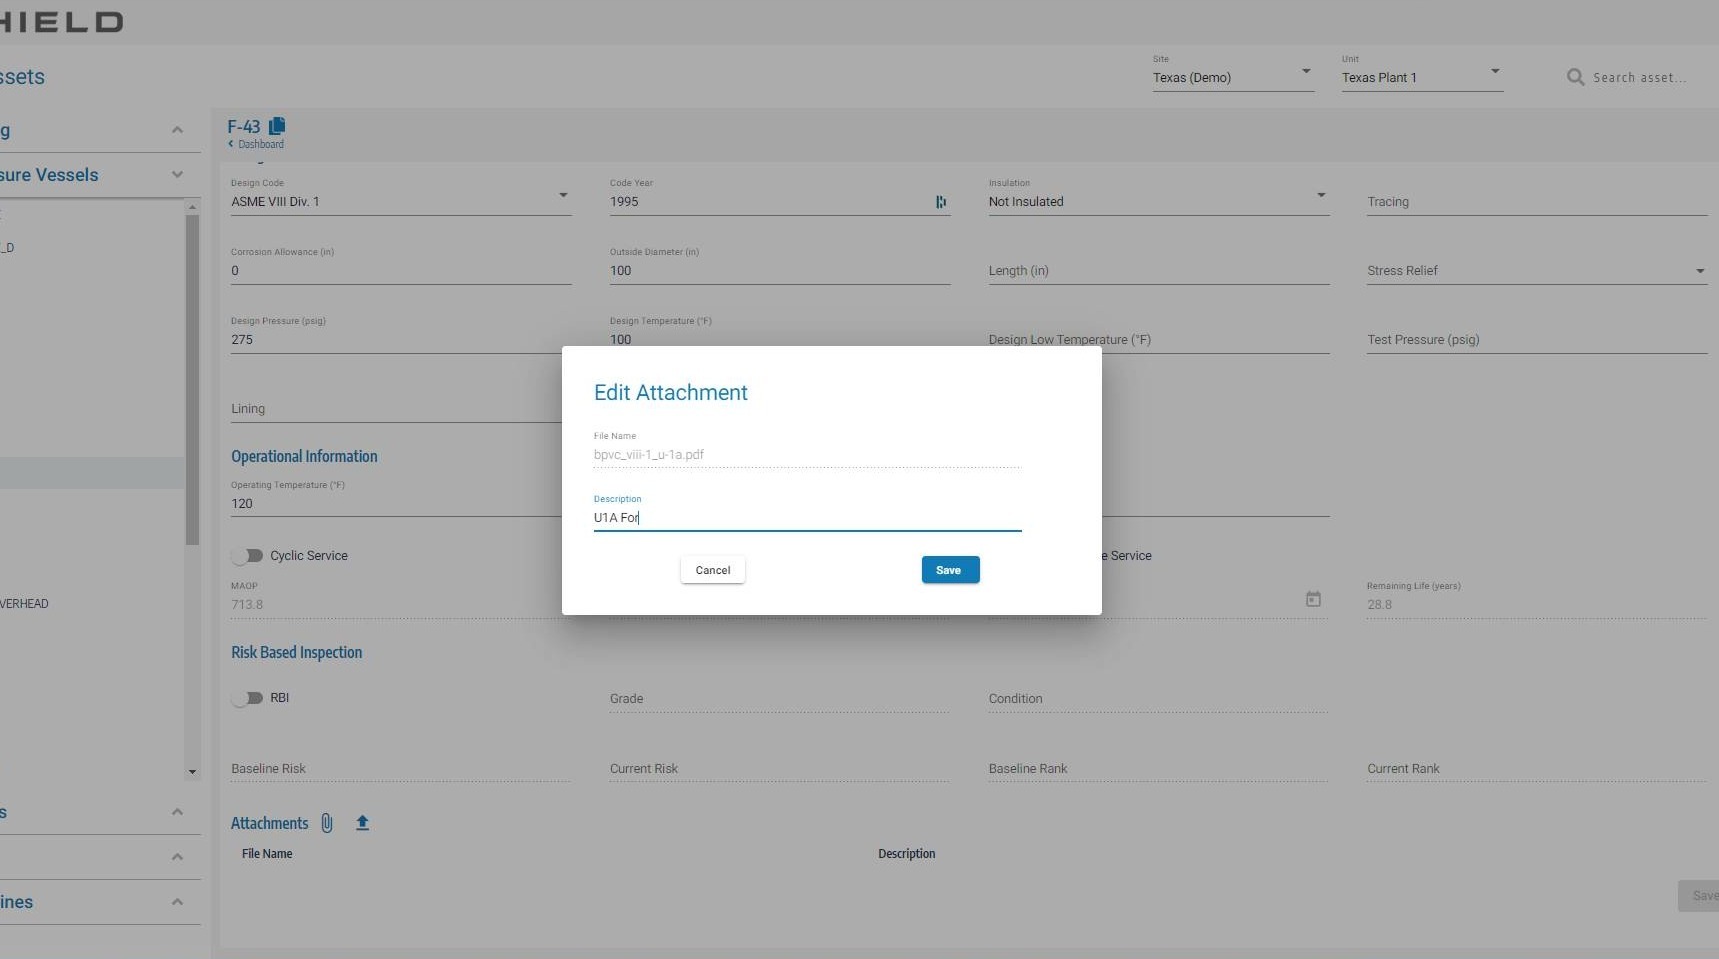
Enter a File Description
Add a clear, descriptive label for the attachment — for example, "P&ID Drawing Rev 5" or "Corrosion Inspection Report — Q2 2024". This description is displayed alongside the file link in the asset record and helps team members identify it at a glance without opening it.
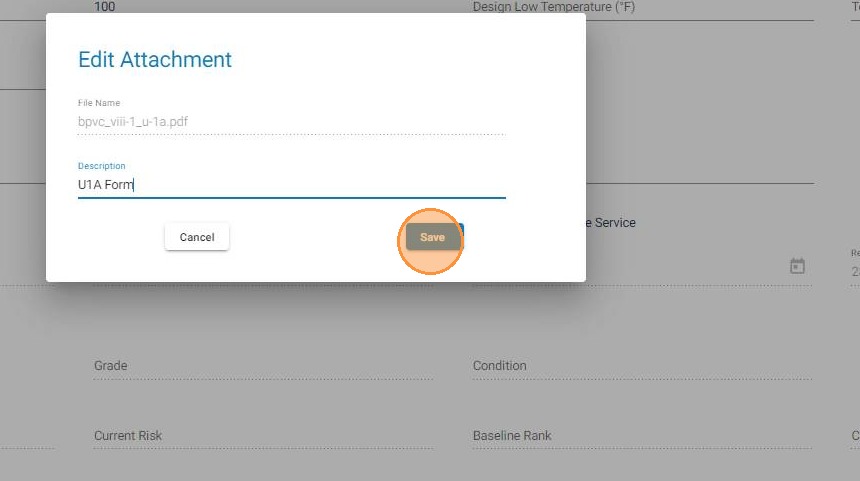
Click Save on the Attachment Form
Click Save on the attachment form to confirm the file link and description. This queues the attachment to be saved when the full asset record is saved in the next step.
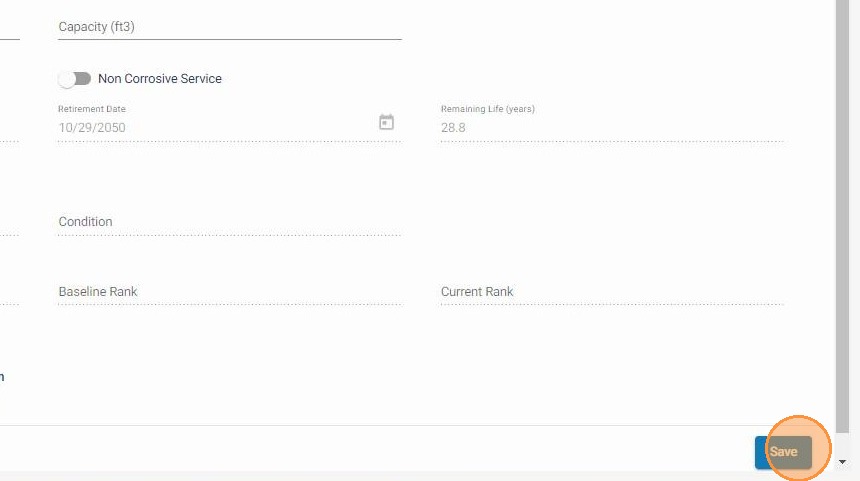
Click Save to Finalize the Asset Record
Click the main Save button to write the attachment link to the asset record. If the file was already synced and indexed in SharePoint prior to this step, it will be immediately available to view from the asset. No additional delay is expected for pre-existing SharePoint files.
Troubleshooting
| Symptom | Cause | Fix |
|---|---|---|
| File not visible in the SharePoint browser | File has not been uploaded to SharePoint yet | Upload the file to your SharePoint directory first, then return to this step |
| File present in SharePoint but not showing in SHIELD | SharePoint sync not yet complete | Wait a few minutes for SharePoint to index the file, then try again |
| Wrong file attached | File selected in error | Delete the attachment from the asset record and repeat the process with the correct file |
| SharePoint directory not accessible | SHIELD SharePoint integration not configured | Contact your SHIELD administrator to verify the SharePoint directory mapping |